This page describes how to program xLight with mBlock 5 on your PC.
2. Download and install mBlock 5 on your PC
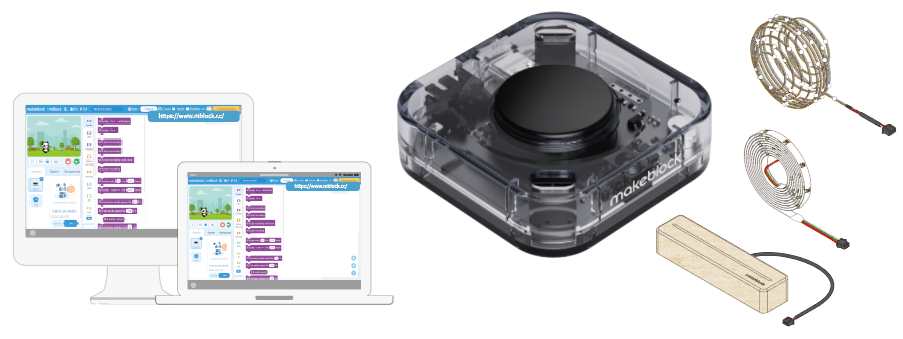
1. Preparation
Before you start, make sure that you've got:
- A computer
 or
or 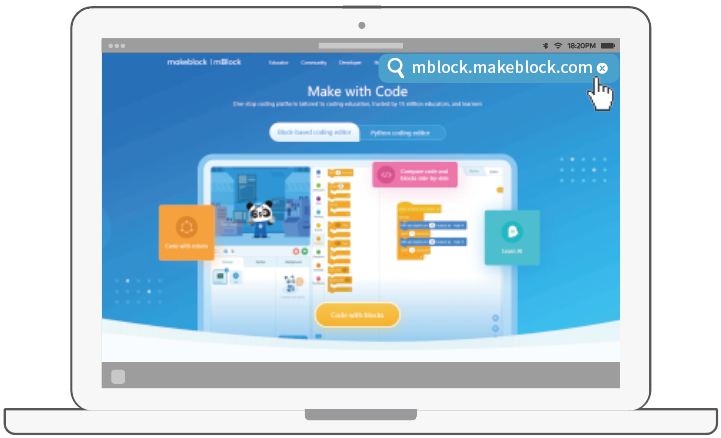
- xLight
 or
or 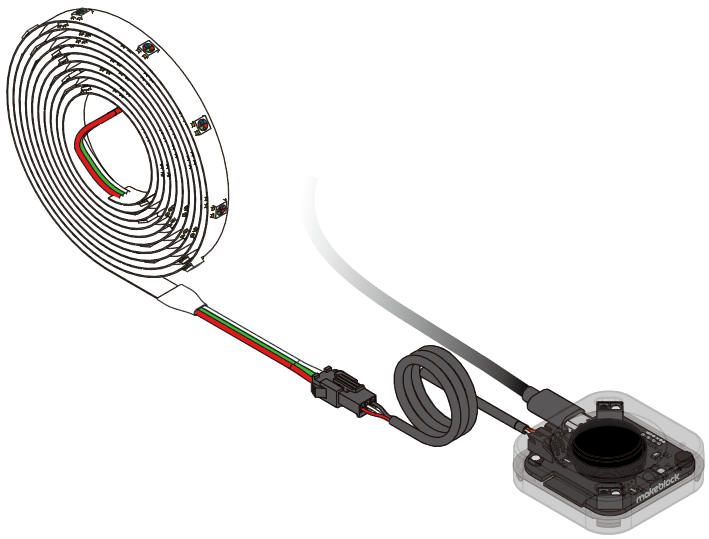 or
or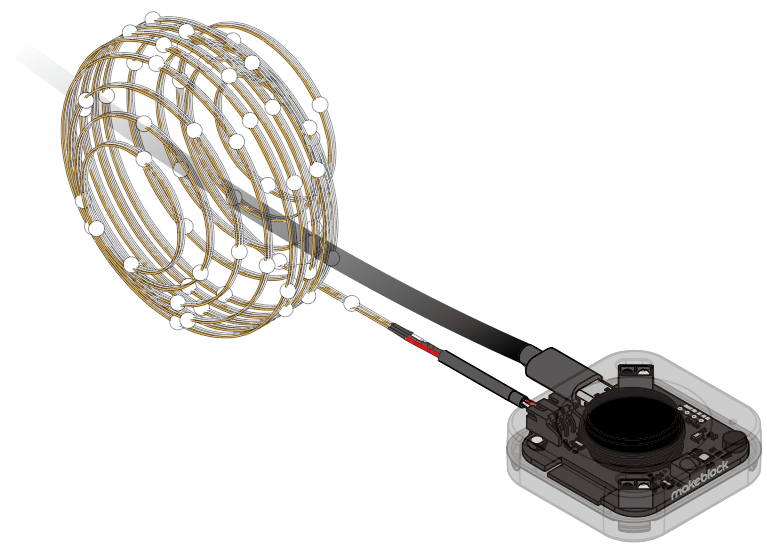
If you haven't assembled your xLight, see Assemble xLight to assemble it.
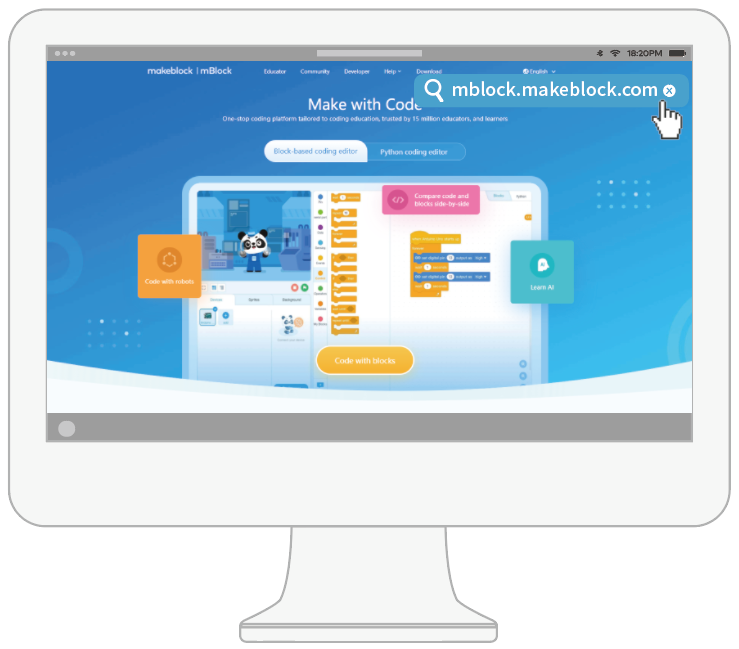
2. Download and install mBlock 5 on your PC
(Skip this step if you have already downloaded and installed mBlock 5 on your PC.)
(1) Go to https://mblock.makeblock.com/en-us/download/ to download mBlock 5 to a local disk.

(2) Double-click the software you've downloaded to install it.

Click Yes when the system asks you "Do you want to allow this app to make changes to your device?" and click to install drivers if prompted.
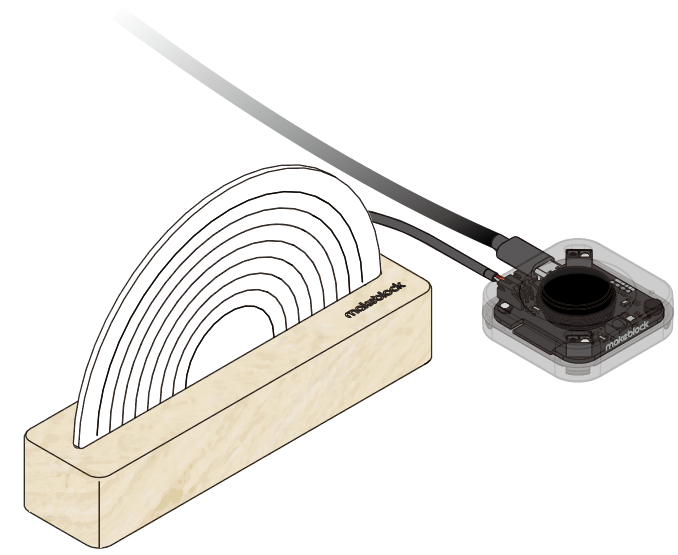
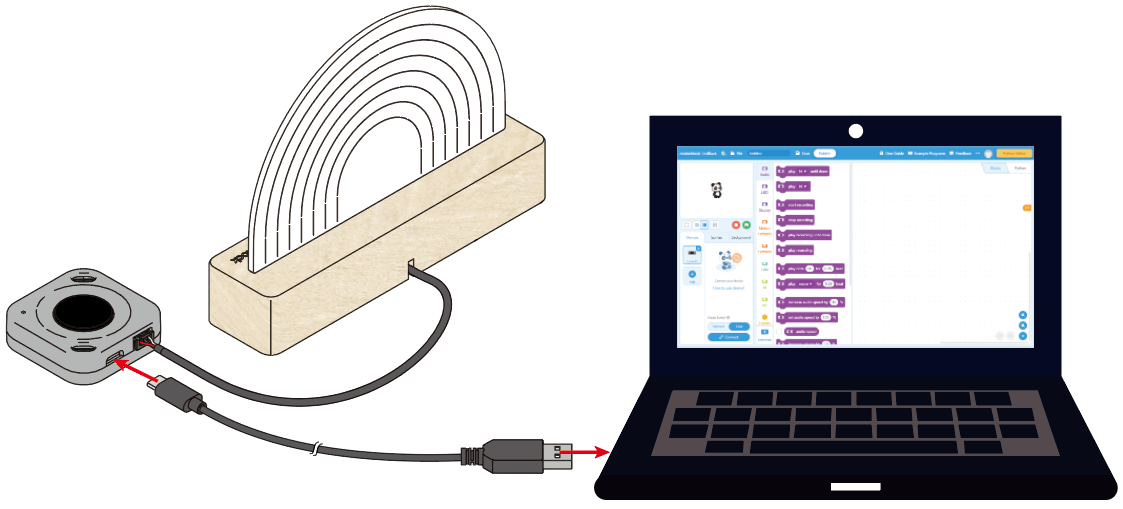
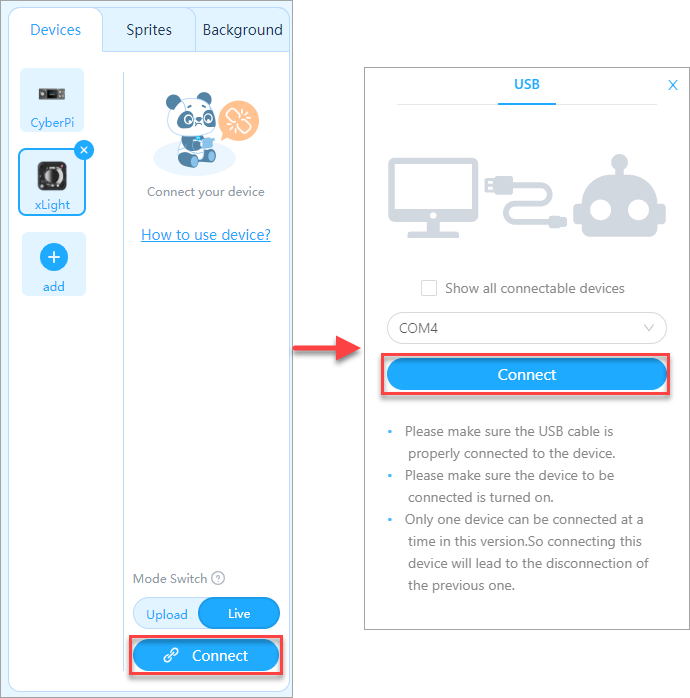
3. Connect xLight to mBlock 5

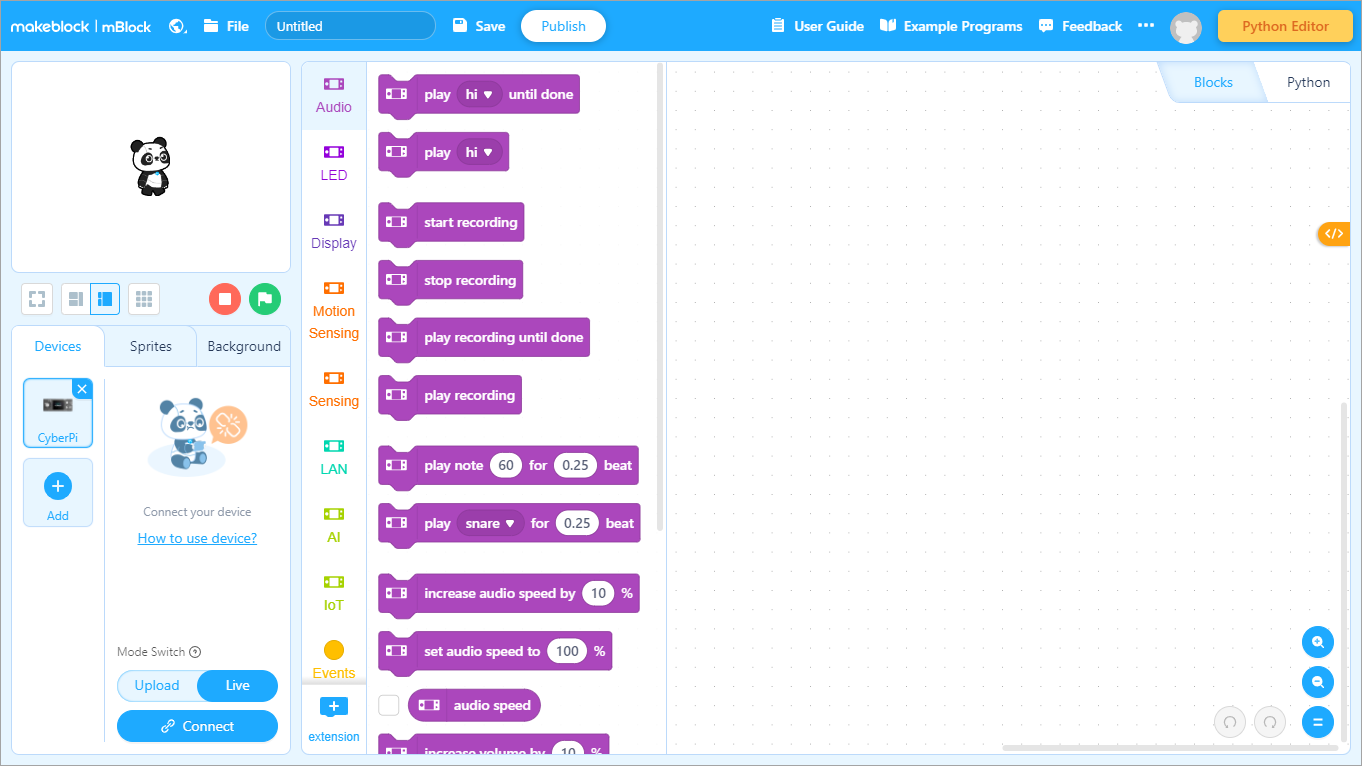
Note: mBlock 5 displays the most frequently used device by default, and you can neglect it or delete it before adding a device.

(4) Click Connect to connect xLight to mBlock 5.
4. Program xLight with blocks
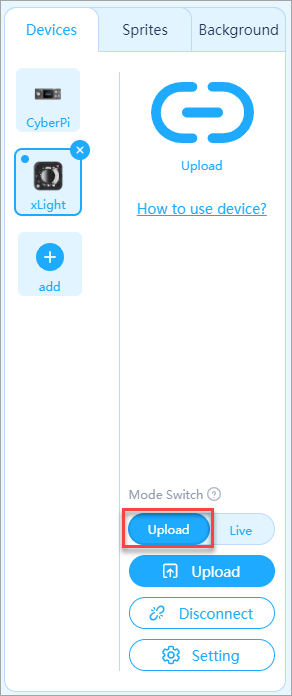
(1) Set the coding mode.
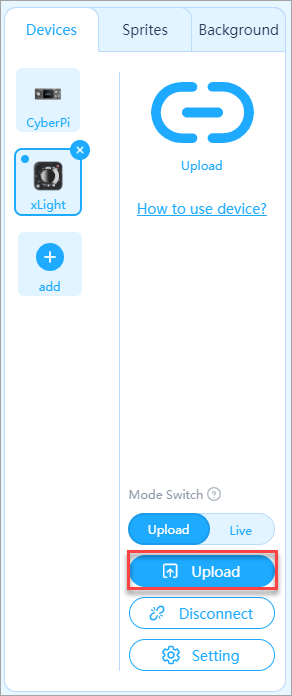
mBlock 5 provides two coding modes, namely Upload and Live.
Live: In this mode, you can view the program running effect in real time, which facilitates the debugging of the program. In this mode, you must keep xLight connected to mBlock 5. If they are disconnected, the program can't be run.
Upload: In this mode, you need to upload the compiled program to xLight. After being successfully uploaded, the program can still run normally on xLight when it is disconnected from mBlock.
For example, set the coding mode to Live.

(2) Drag blocks to the scripts area.
We can write a program to light up the LEDs of xLight in the colors of a rainbow, with each color lasting one second.
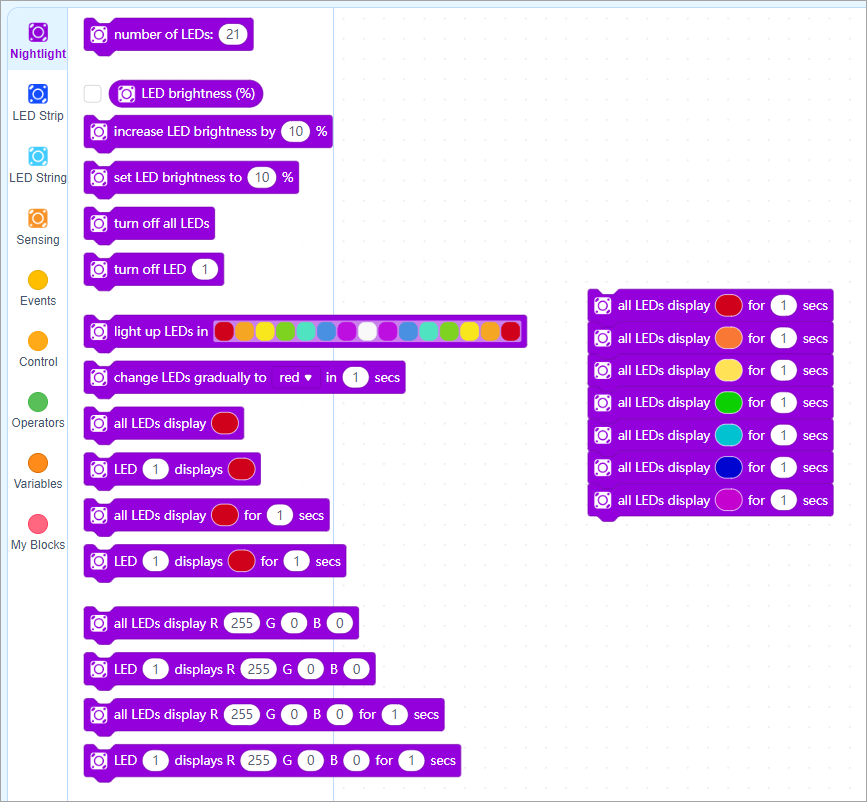
a. Set the first color of the LEDs.
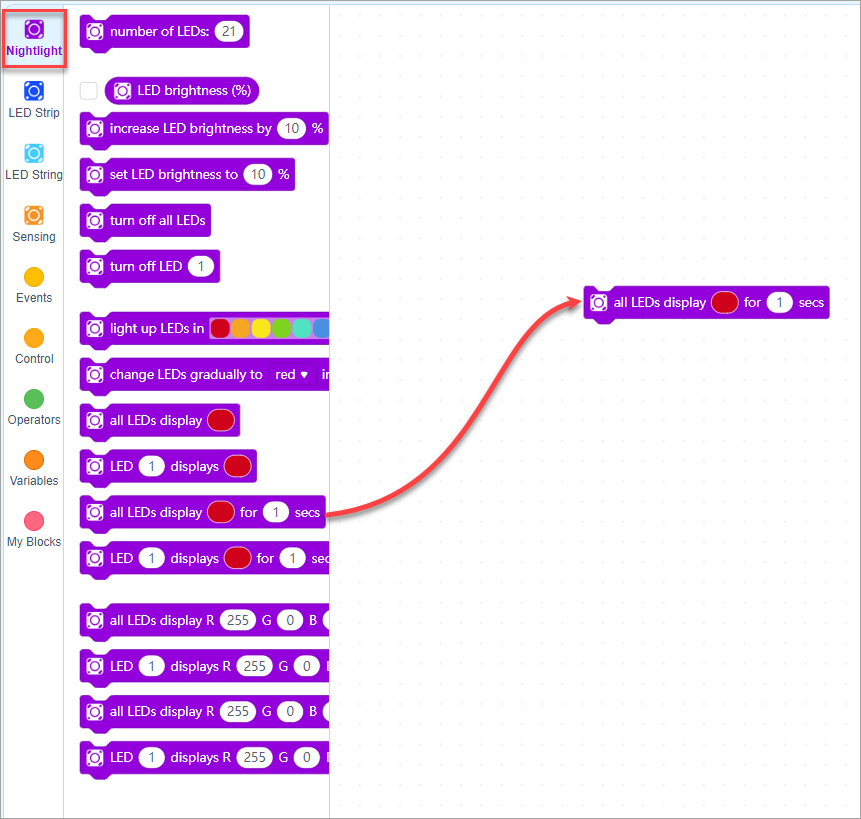
Set the next six colors in a similar way.
b. Set the number of times the program is to be run. For example, keep the program running after it is triggered. If you don't set the number of times, the blocks are executed once, by default.
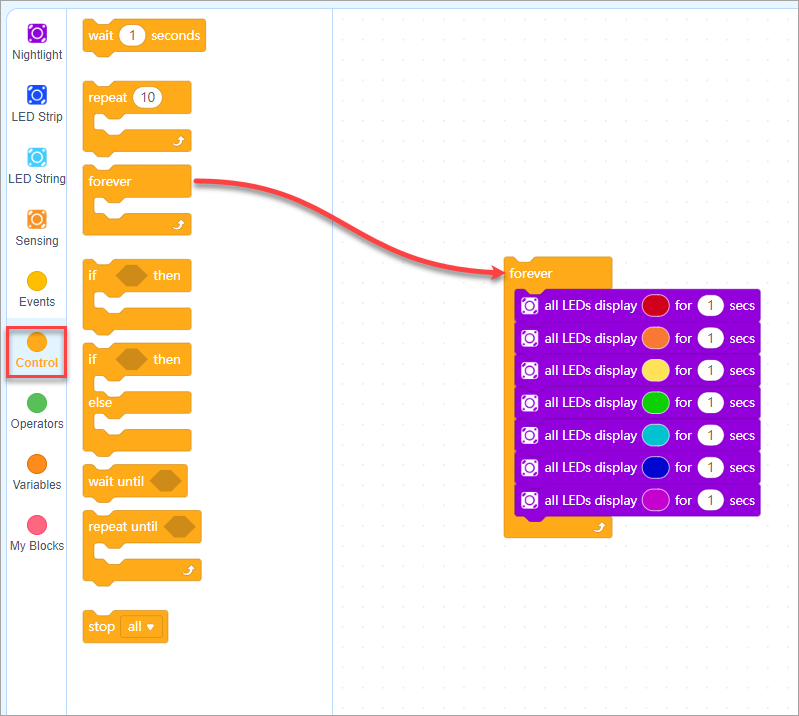
c. Define the time when the program is triggered by selecting a block from the Events category.
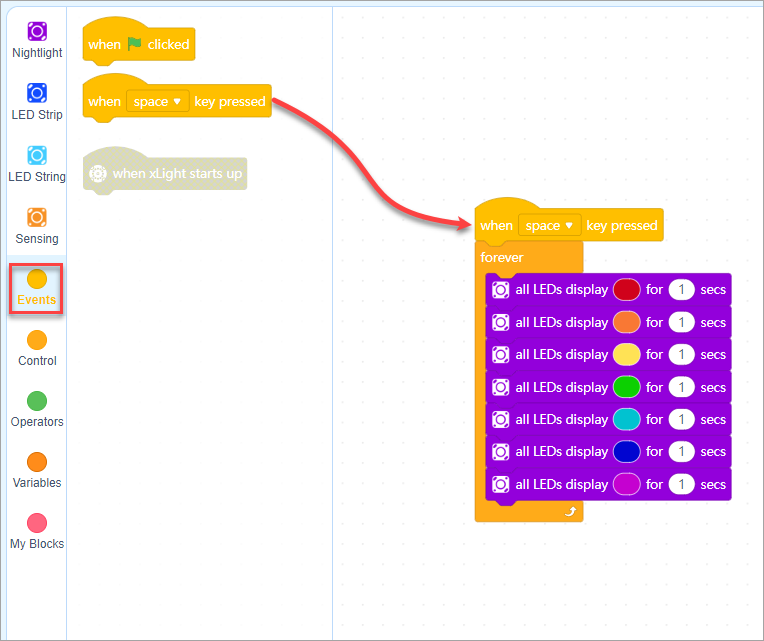
The program is complete. Press the space key and see what happens.
You can try using other blocks to create your own light effects or games.
Tips: If you use the LED strip or LED string to assemble xLight, use the LED Strip or LED String category when programming xLight.
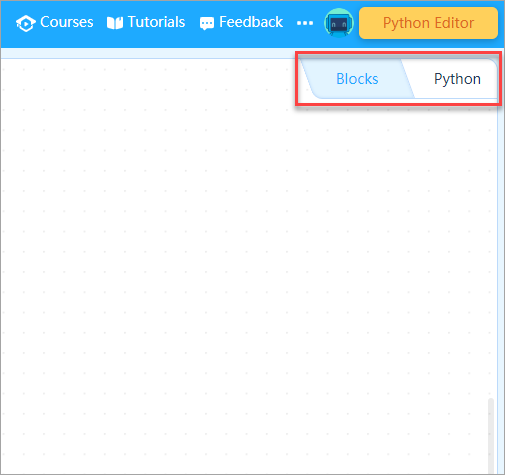
5. Program xLight in Python
mBlock 5 supports both block-based and Python coding for xLight.
Note: Python coding is available only in Upload mode.
Write a program in Python similar to the one written with blocks in 4. Program xLight with blocks to light up the LEDs of xLight in the colors of a rainbow, with each color lasting one second.
(1) Set the coding mode to Upload.
(2) Write codes in the Python editing area.
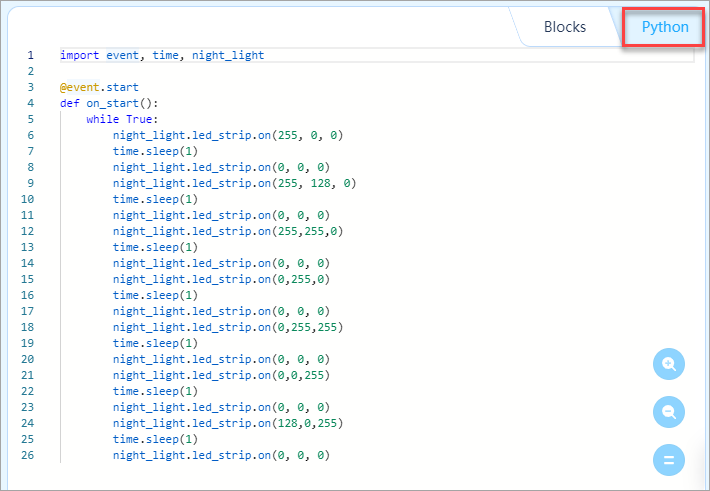
import event, time, night_light
@event.start
def on_start():
while True:
night_light.led_strip.on(255, 0, 0)
time.sleep(1)
night_light.led_strip.on(0, 0, 0)
night_light.led_strip.on(255, 128, 0)
time.sleep(1)
night_light.led_strip.on(0, 0, 0)
night_light.led_strip.on(255,255,0)
time.sleep(1)
night_light.led_strip.on(0, 0, 0)
night_light.led_strip.on(0,255,0)
time.sleep(1)
night_light.led_strip.on(0, 0, 0)
night_light.led_strip.on(0,255,255)
time.sleep(1)
night_light.led_strip.on(0, 0, 0)
night_light.led_strip.on(0,0,255)
time.sleep(1)
night_light.led_strip.on(0, 0, 0)
night_light.led_strip.on(128,0,255)
time.sleep(1)
night_light.led_strip.on(0, 0, 0)
(3) Click Upload to upload the program to xLight.
After you upload the program to xLight, the LEDs of xLight are lit up in the colors of a rainbow, with each color lasting one second.
Note: The control box of xLight can store only one user-defined program. A new program you upload to it replaces the last one.
APIs for xLight
In the preceding example, the API led_strip.on(r, g, b) is used to set the color of the LEDs.
The following table describes the APIs provided for xLight, and you can use them to write programs in Python.
| API | Parameter | Description | Use it as follows |
| set_led_num( num ) |
num: number of LEDs |
Sets the number of LEDs |
night_light.led_strip.set_led_num(21)
|
| change_brightness(value) |
value: numeric value |
Increases or reduces brightness |
night_light.led_strip.change_brightness(10)
|
| set_brightness(value) |
value: numeric value |
Sets the brightness |
night_light.led_strip.set_brightness(10)
|
| off_all( ) |
N/A |
Turns off all the LEDs |
night_light.led_strip.off_all()
|
| off_single(index) |
index: sequence number of an LED |
Turns off the specified LED |
night_light.led_strip.off_single(1)
|
| show(color, offset, type) |
color: color |
Lights up LEDs in a color/colors |
led_strip.show('red orange yellow green cyan blue purple white purple blue cyan green yellow orange red', 0, 0)
|
| On(r, g, b, id) |
r: color component r g: color component g b: color component b id: sequence number of an LED |
Lights up all the LEDs |
night_light.led_strip.on(208, 2, 27, "all")
|
| on_single(r, g, b, id) |
r: color component r g: color component g b: color component b id: sequence number of an LED |
Lights up the specified LED |
night_light.led_strip.on_single(208, 2, 27, 1)
|
| get_button_action(val) |
val: action on the button |
Obtains the action on the button |
night_light.get_button_action(1)
|
| ir_get_distance (index) | index: IR sensor indication Type: int Setting range: 1: right IR sensor 2: left IR sensor |
Obtains the distance of a gesture detected by the left or right IR sensor |
night_light.ir_gesture.ir_get_distance(1)
|
| get_trigger_time(index,time) | index: Type: numeric value Setting range: 1: left IR sensor triggered twice 2: right IR sensor triggered twice 3: from right to left 4: from left to right time: numeric value, triggered with [0–10] |
Obtains the gesture detected |
night_light.ir_gesture.get_trigger_time(3,1)
|
| get_volume( ) | N/A |
Obtains the loudness detected by the microphone |
night_light.sound.get_volume()
|
| get_key_val(value) | value: Type: str Setting range: A B C D E F SET UP DOWN LEFT RIGHT 0 1 2 3 4 5 6 7 8 9 |
Obtains whether the button is pressed: true: pressed false: not pressed |
night_light.ir_control.get_key_val("A")
|
More information
Control xLight with the Makeblock App
Program xLight with the mBlock App
Comments
Please sign in to leave a comment.