This page describes how to program xLight with the mBlock app.
2. Download and install the mBlock app
3. Connect xLight to the mBlock app
5. Switch between the user-defined program and default program
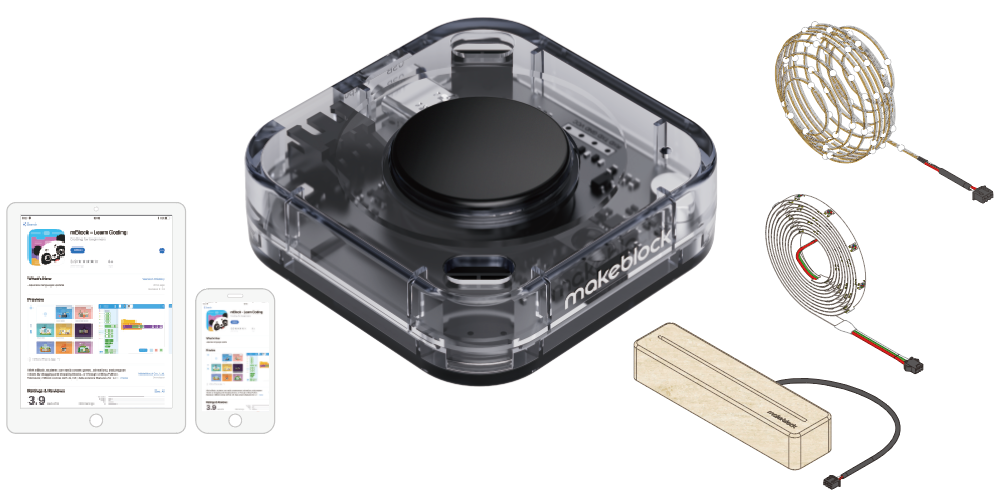
1. Preparation
Before you start, make sure that you've got:
- A tablet or smartphone
 or
or 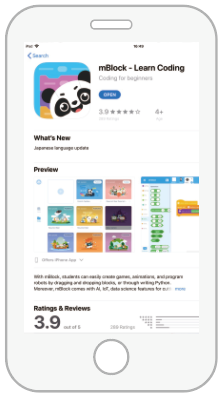
- xLight
 or
or 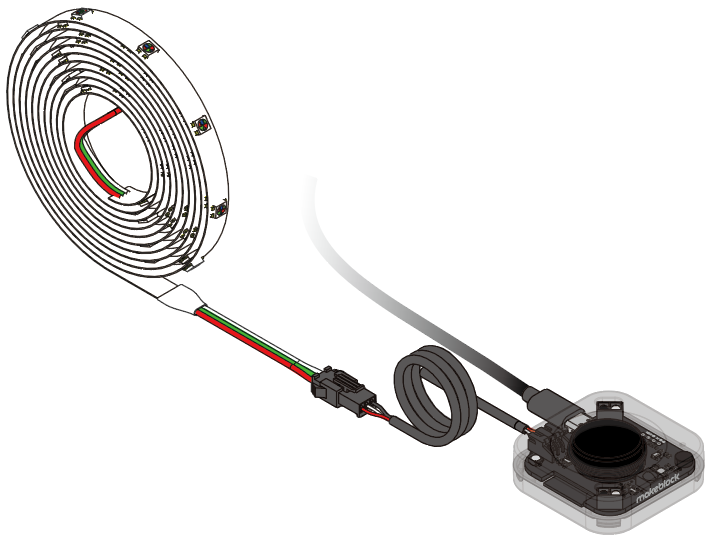 or
or 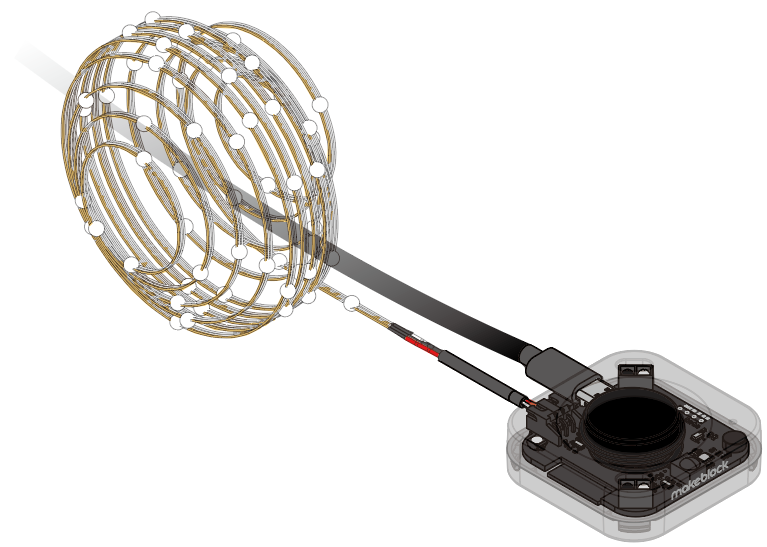
If you haven't assembled your xLight, see Assemble xLight to assemble it and connect it to a power supply first.
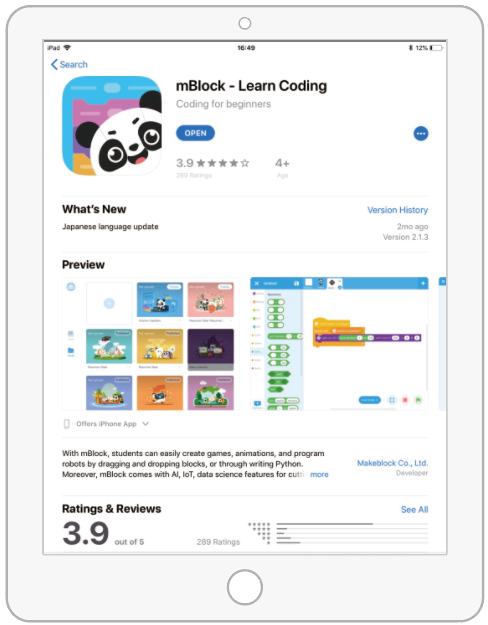
2. Download and install the mBlock app
Use your smart device to scan the following QR code to download and install the mBlock app.


Alternatively, you can search for mBlock in an app store.
3. Connect xLight to the mBlock app
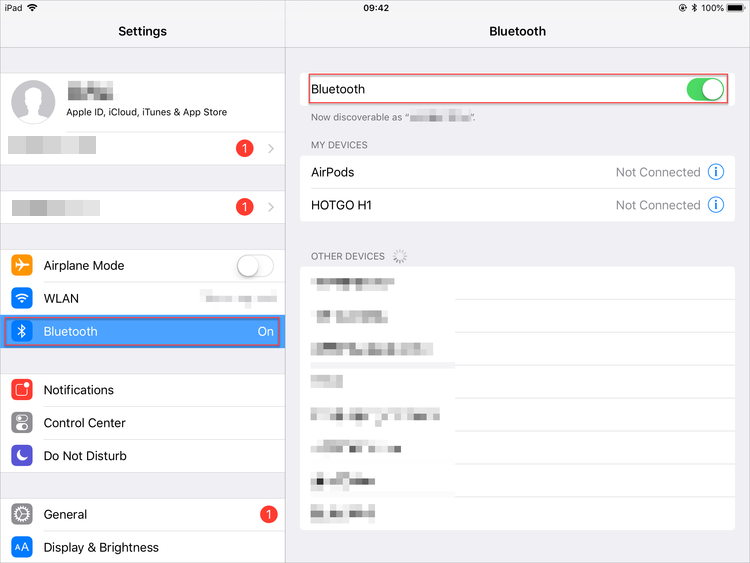
(1) Enable Bluetooth on your smart device.
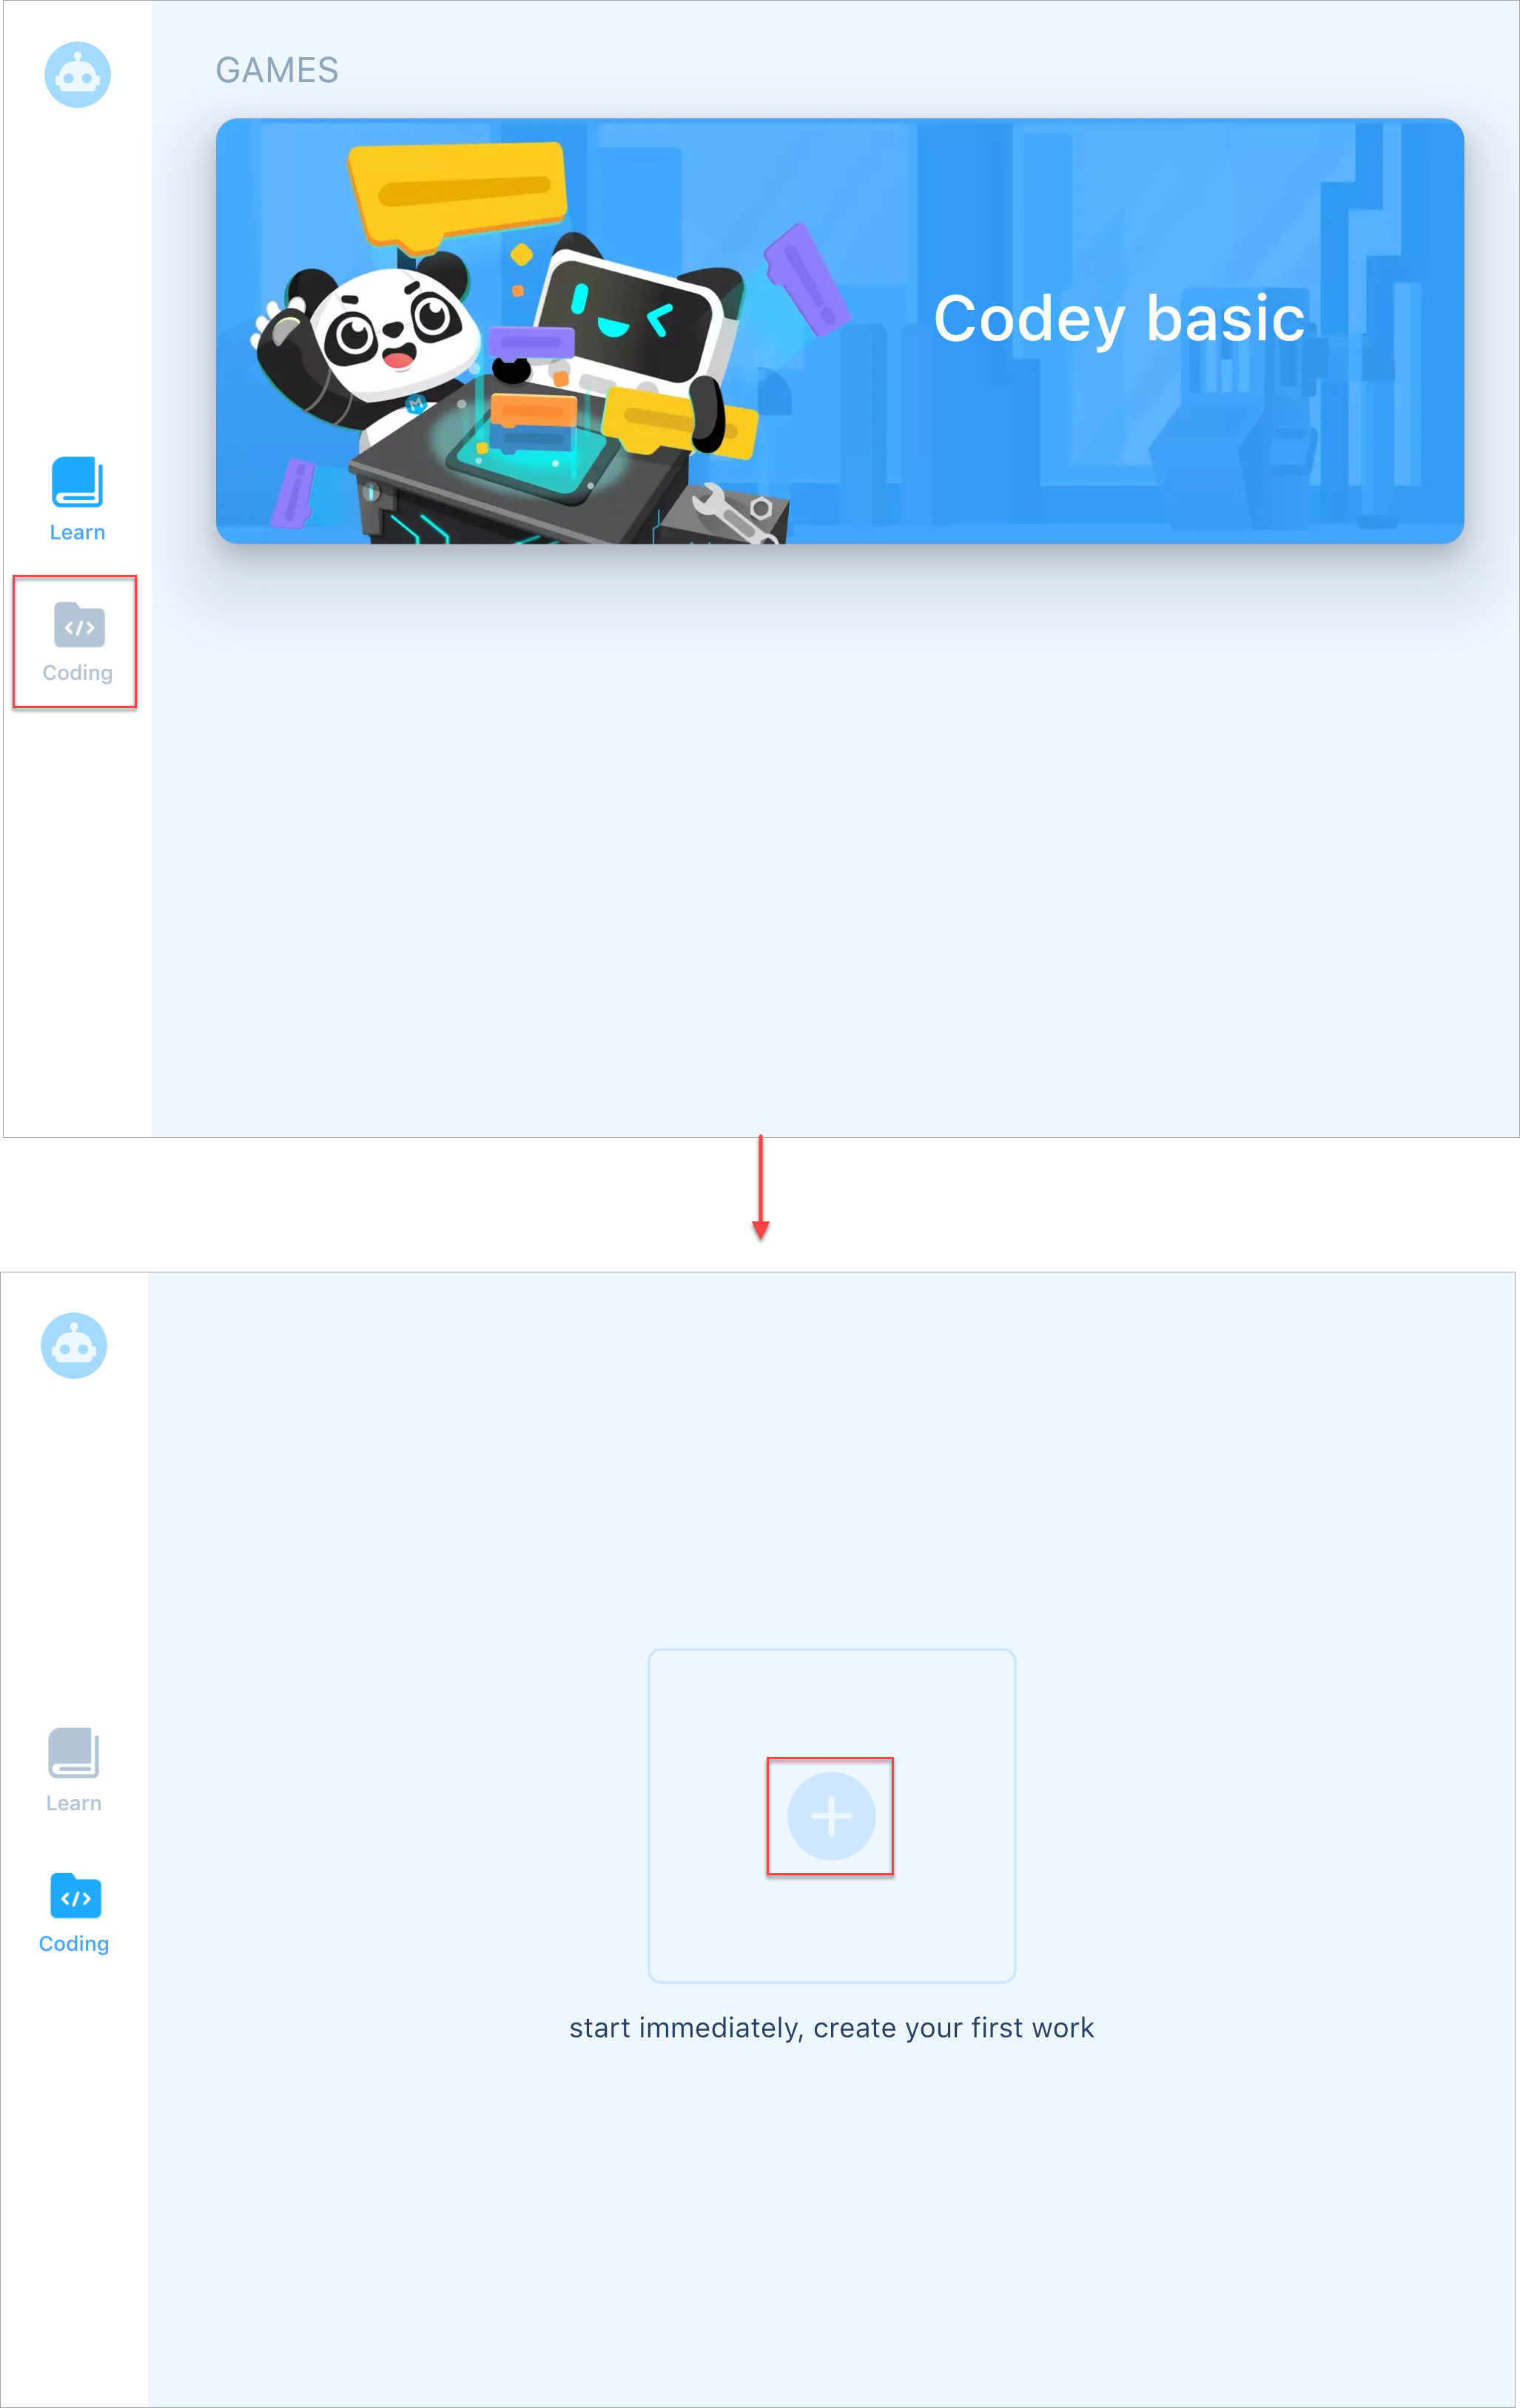
(2) Tap to open the mBlock app.
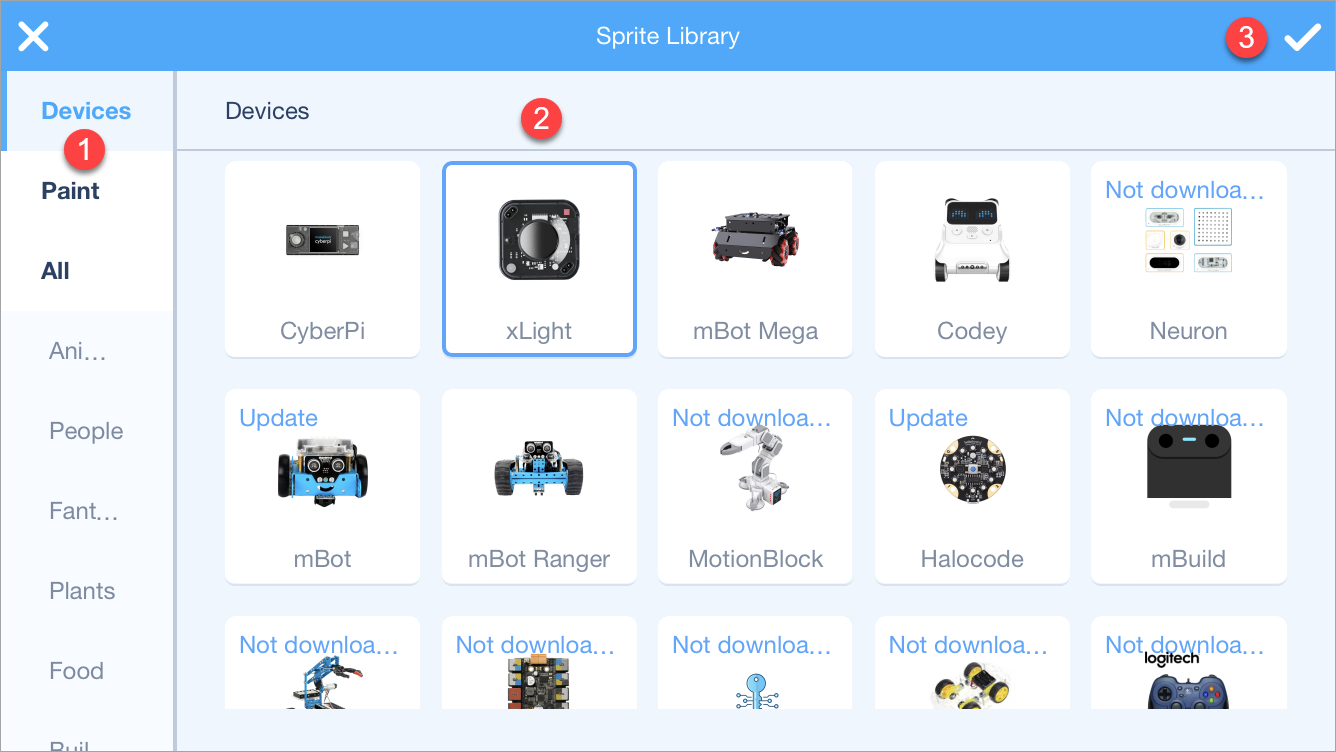
(3) Tap Coding, and tap + on the page that appears.
(4) In the Sprite Library, choose Devices > xLight and tap √.
(5) Tap the xLight setting icon and tap Connect on the Device setting page that appears.
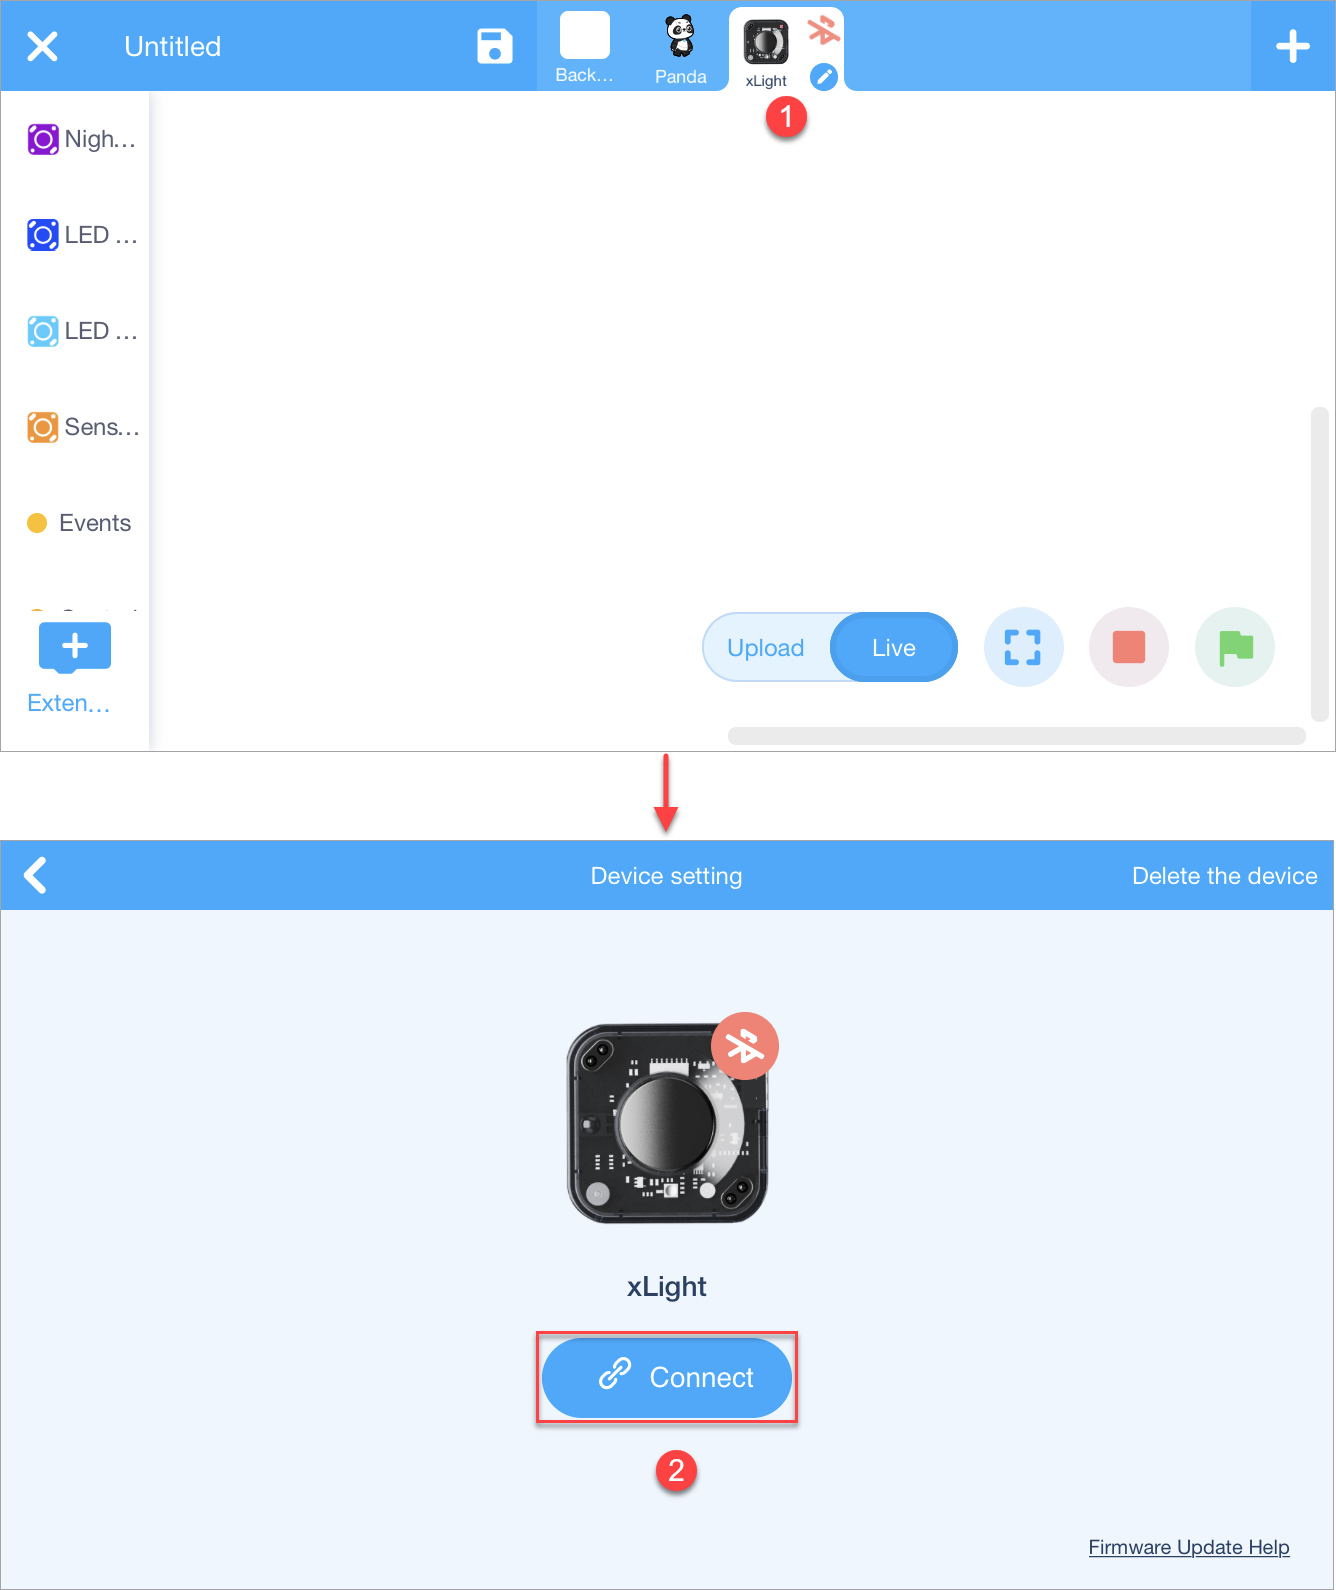
(6) Place your smart device close to xLight.
mBlock automatically searches for and connects to xLight.
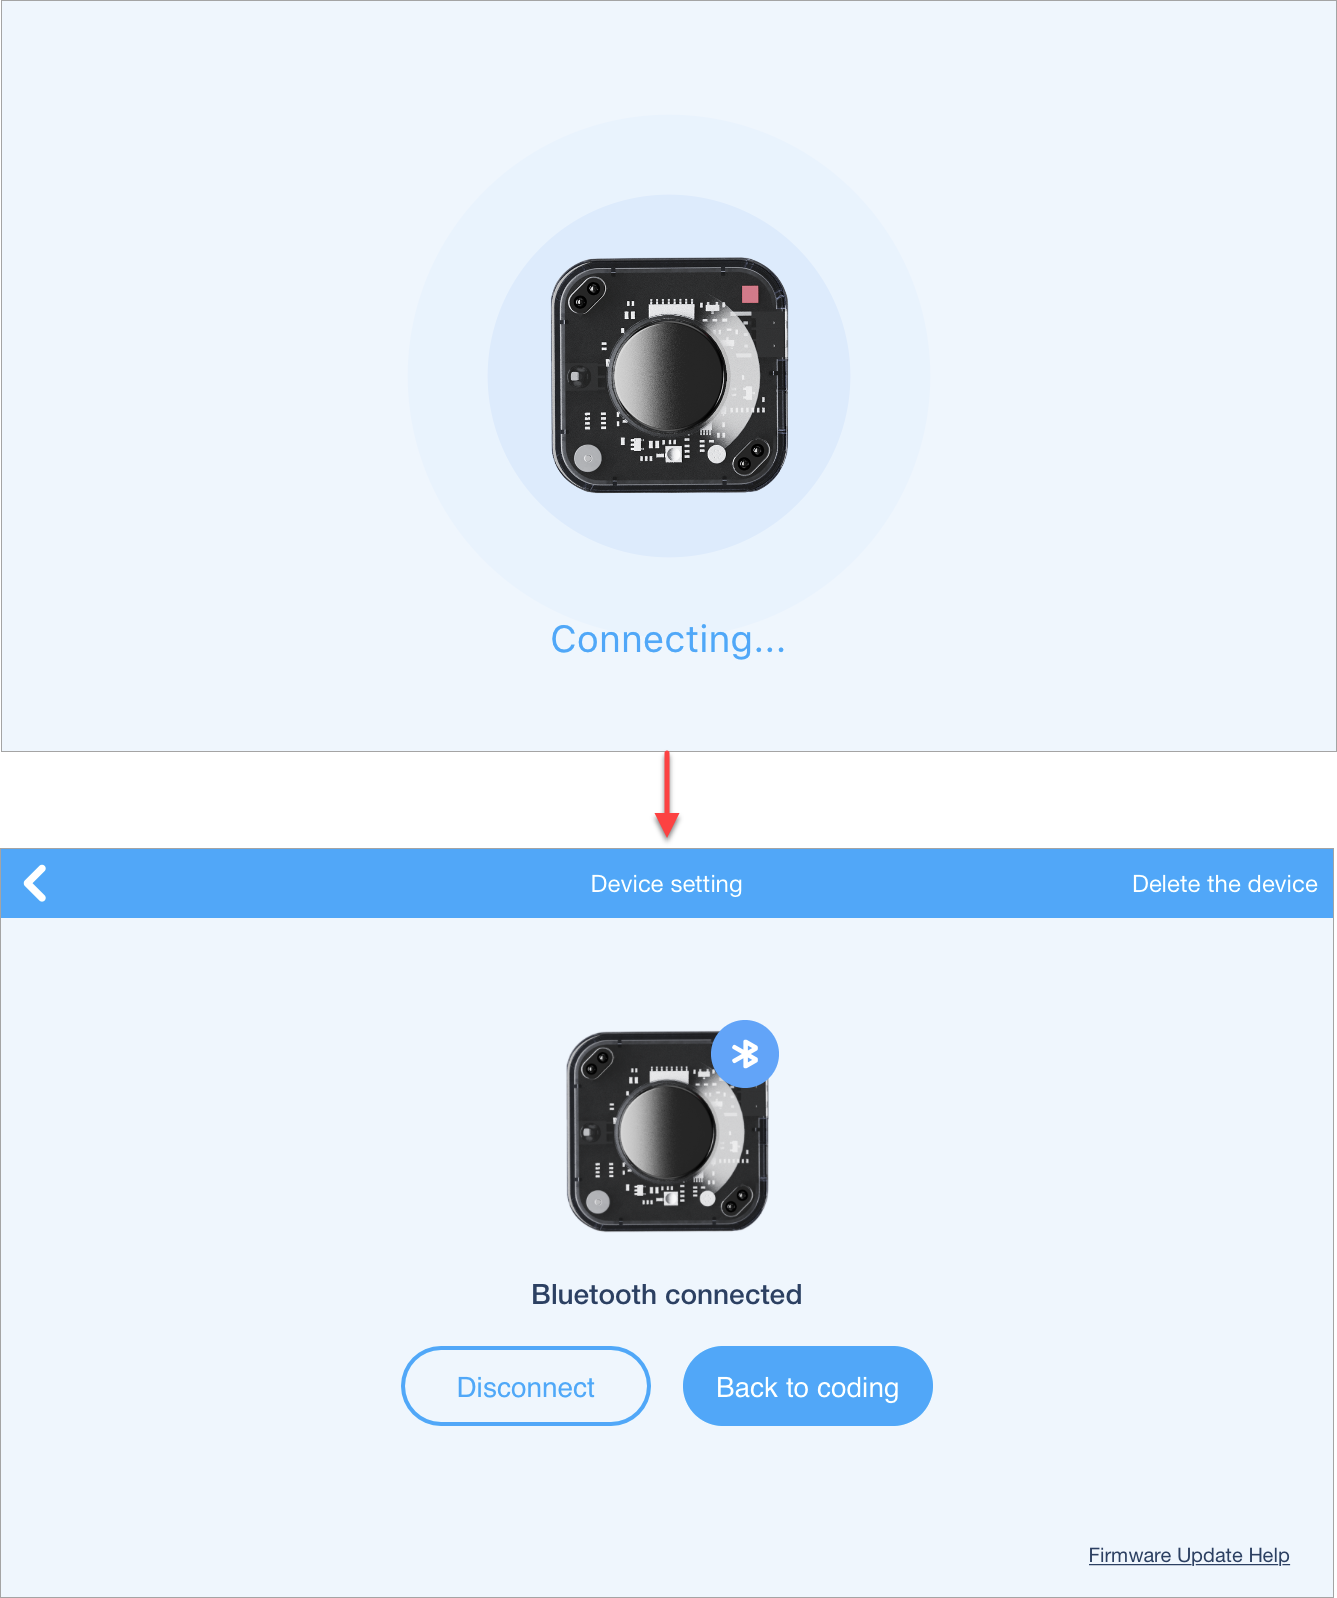
After the connection is complete, a voice message is played, indicating that the connection is successful.
4. Program xLight
(1) Tap Back to coding.
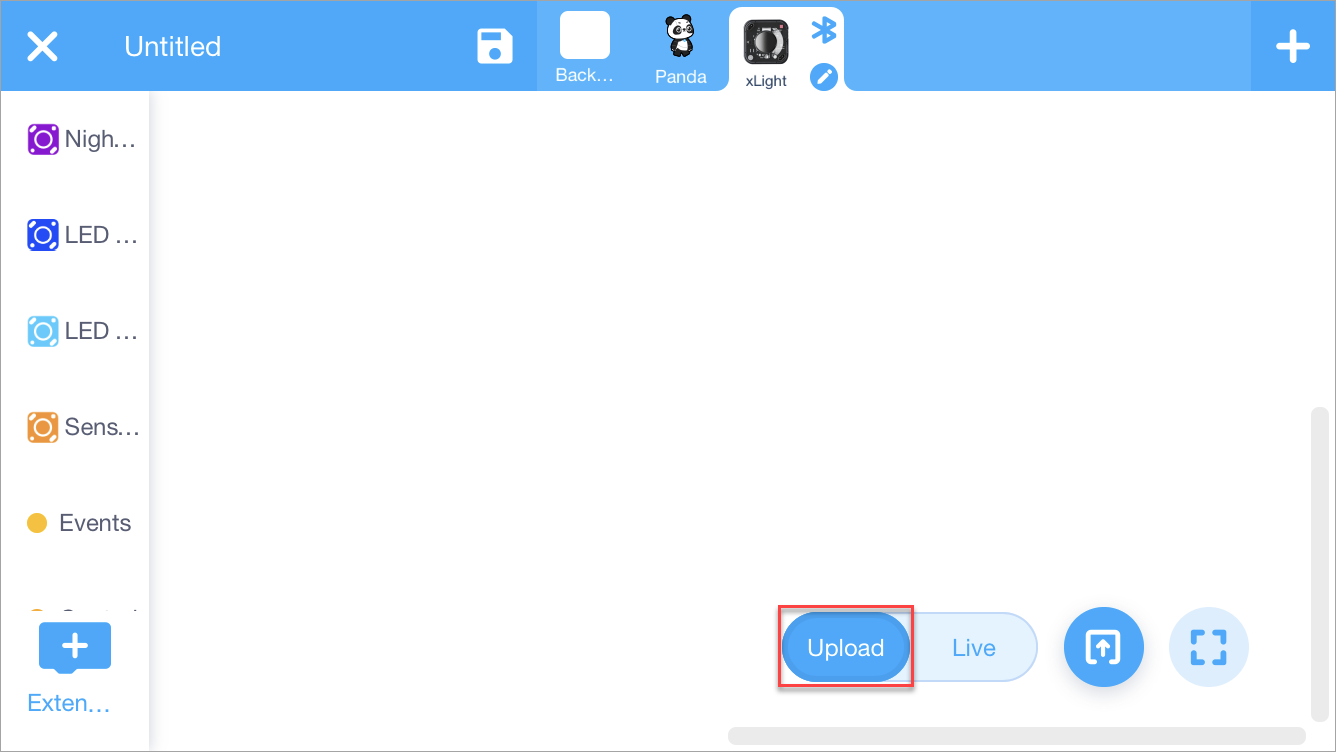
(2) Set the coding mode.
mBlock provides two coding modes, namely Upload and Live.
Live: In this mode, you can view the program running effect in real time, which facilitates the debugging of the program. In this mode, you must keep xLight connected to mBlock. If they are disconnected, the program can't be run.
Upload: In this mode, you need to upload the compiled program to xLight. After being successfully uploaded, the program can still run normally on xLight when it is disconnected from mBlock.
For example, set the coding mode to Upload.
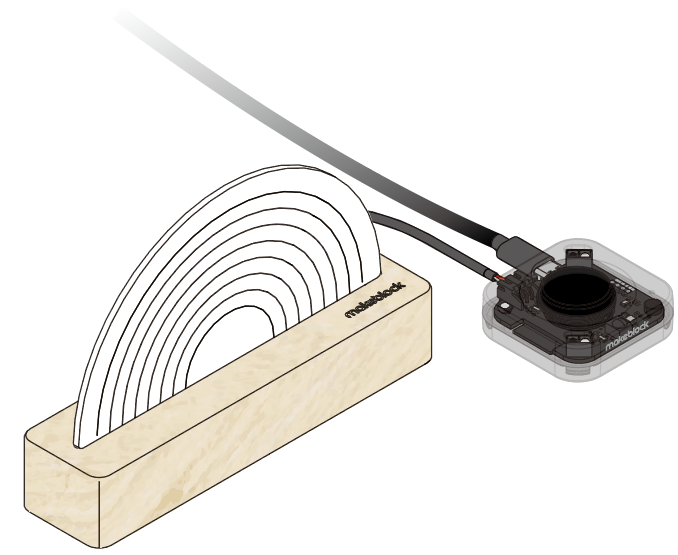
(3) Drag blocks to the scripts area.
For example, you can write a simple program to light up the LEDs of xLight installed with the wooden base and keep changing the brightness of the LEDs.
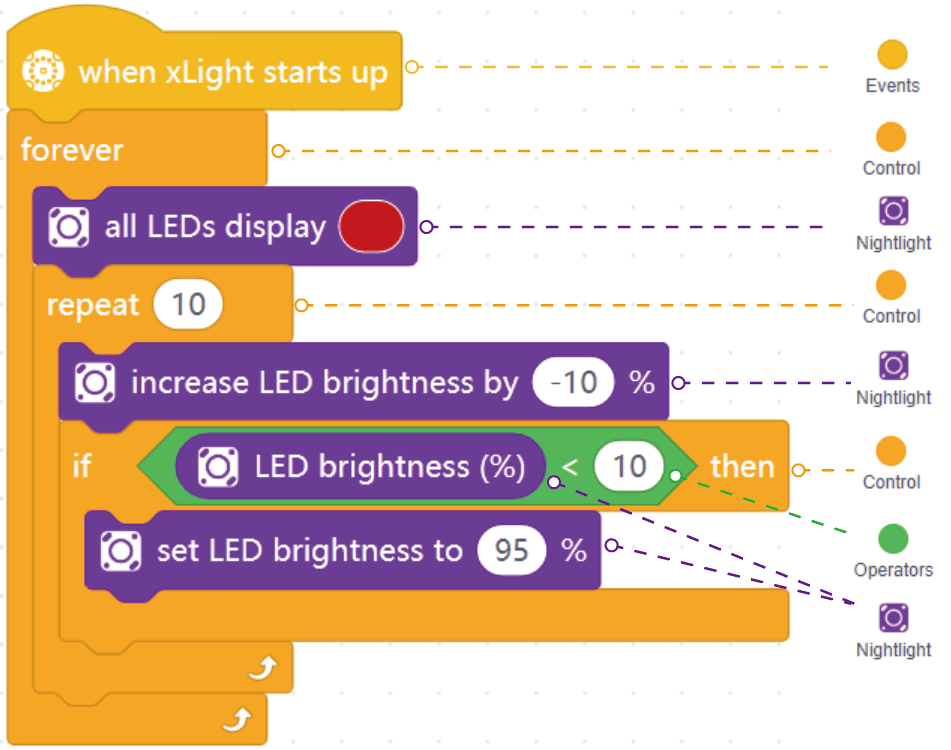
Note:
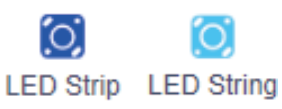
If you program xLight installed with the LED strip or LED string, use the blocks in the LED Strip or LED String category.
(4) Tap the Upload icon to upload the program to xLight.
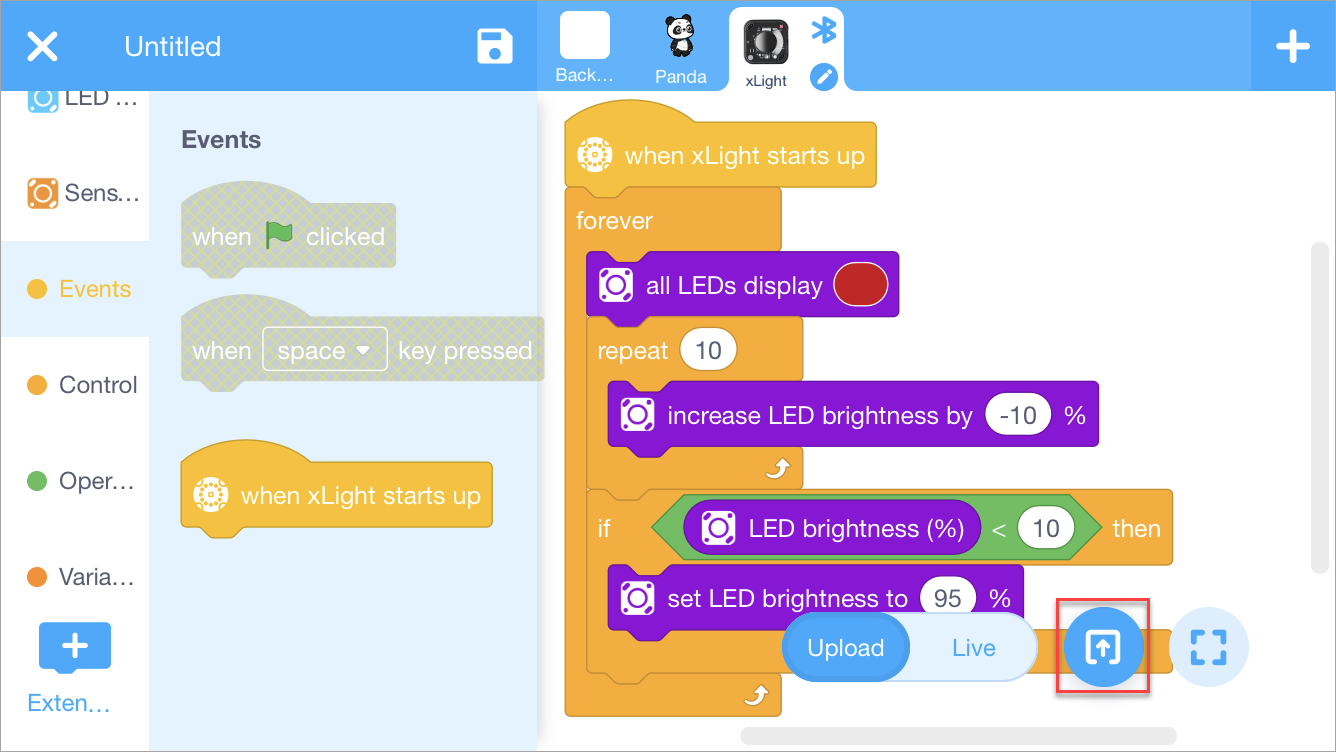
After you upload the program to xLight, all the LEDs are lit up in red and the brightness keeps changing.
Note: The control box of xLight can store only one user-defined program. A new program you upload to it replaces the last one.
5. Switch between the user-defined program and default program
You can switch between the default program and user-defined one by quickly pressing the button three times.
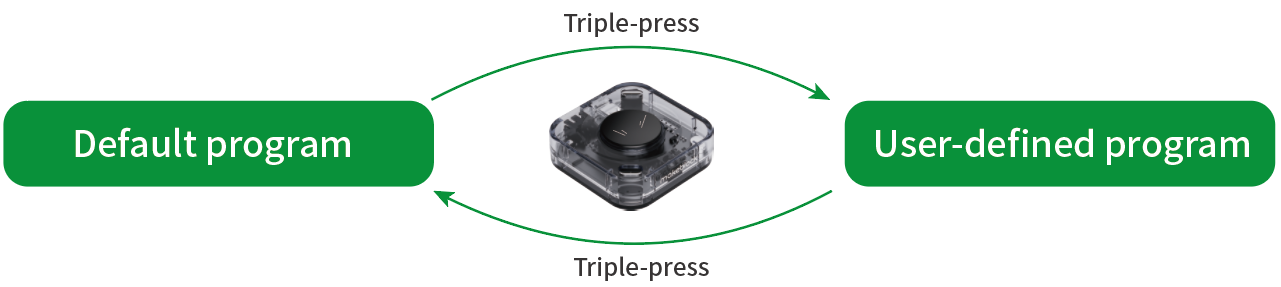
For details about the default program, see Default Program of xLight.
More information
Control xLight with Its Button
Control xLight with the Remote Control
Control xLight with the Makeblock App
Program xLight with mBlock 5 on Your PC
Comments
Please sign in to leave a comment.