Part 1 Objective
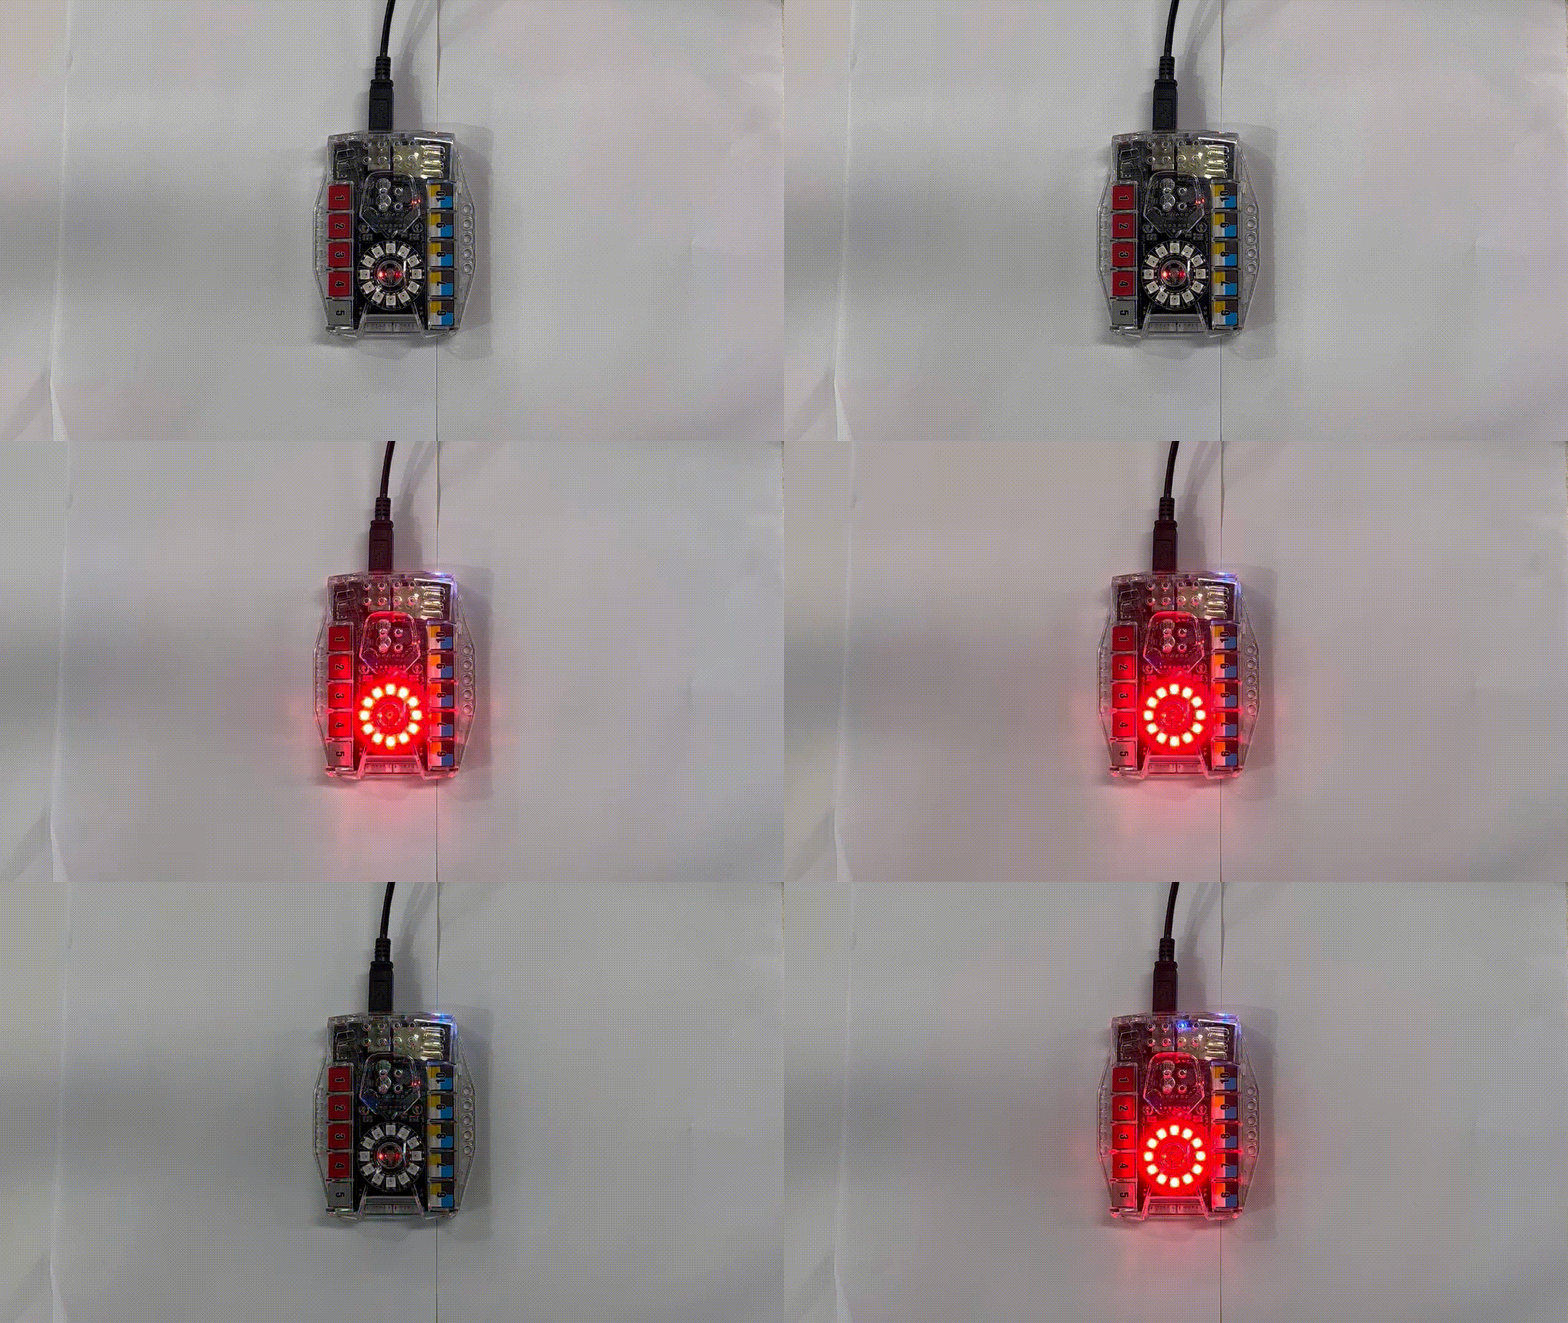
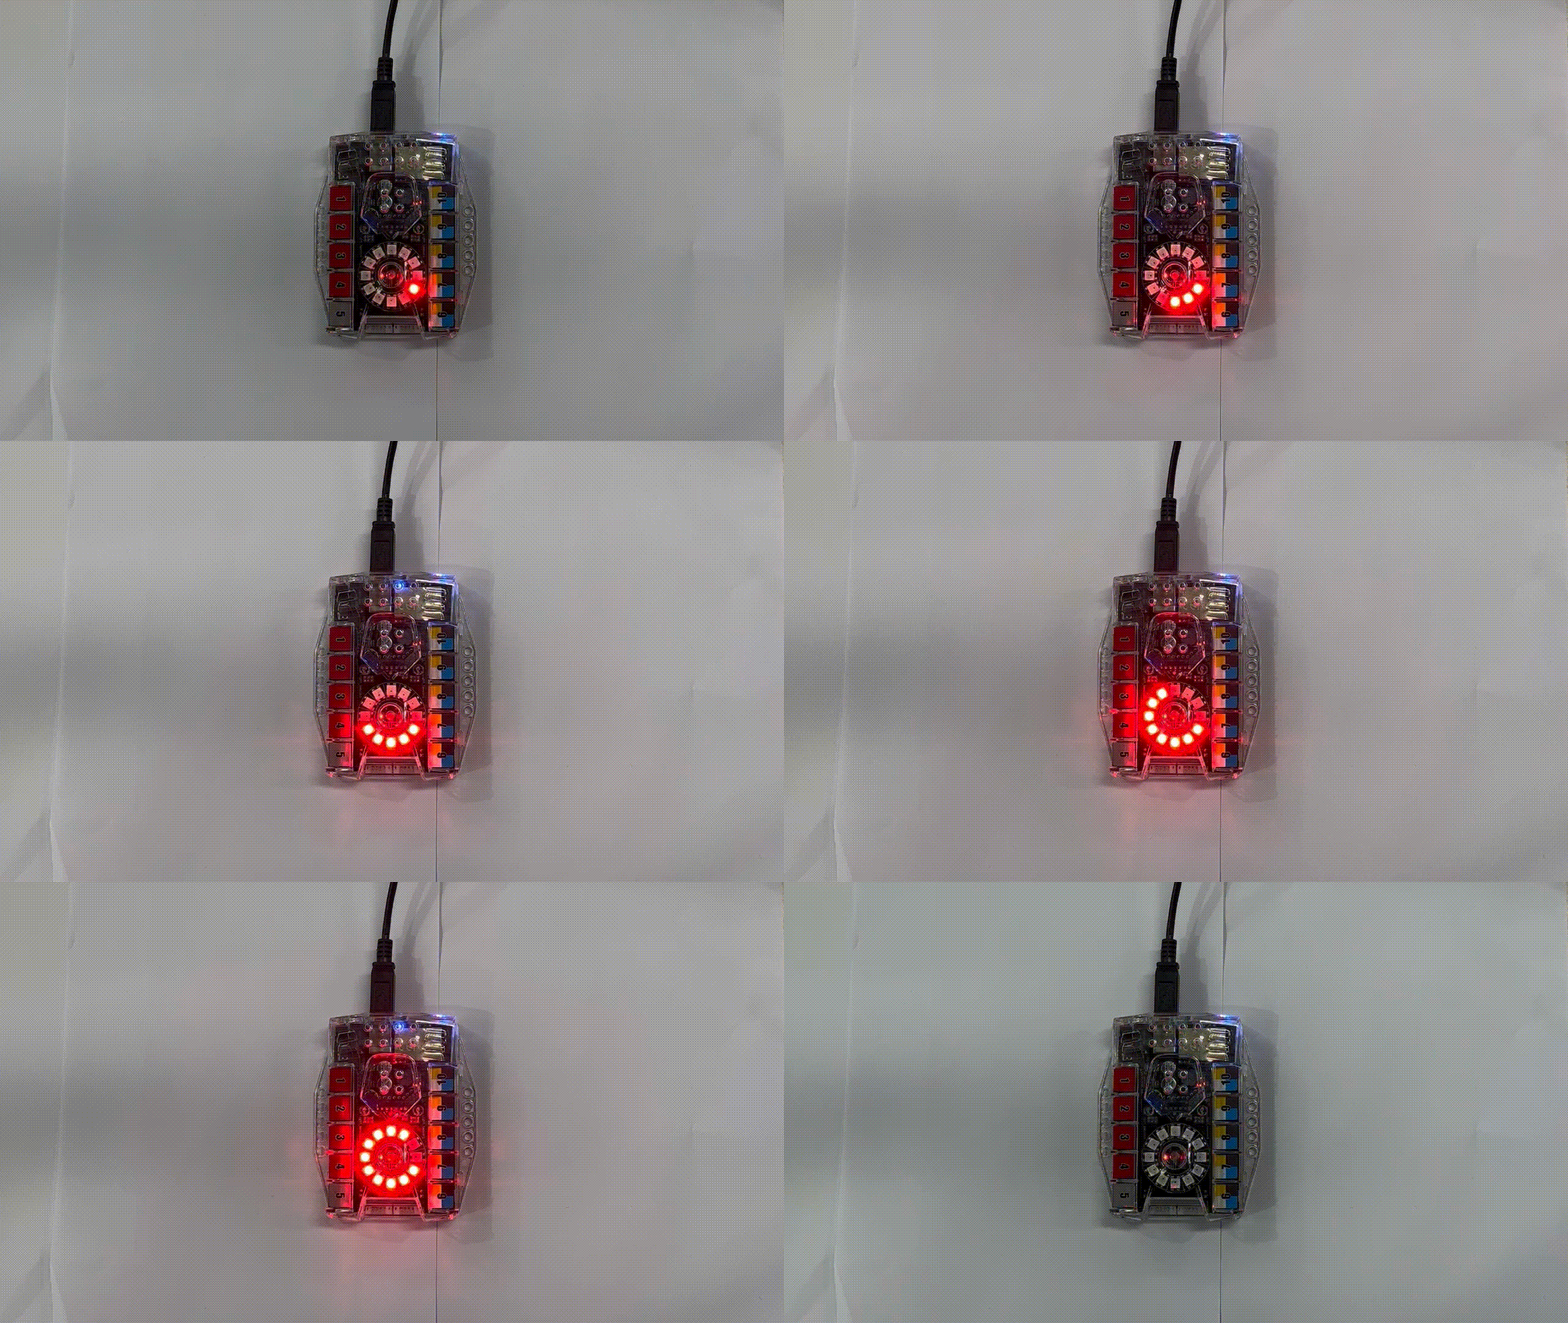
After you upload the program, the LEDs on Auriga blink, light up one by one, or are displayed in other ways as programmed.
Part 2 Preparation
-
Auriga x 1
-
USB cable x 1
-
Computer with network access x 1
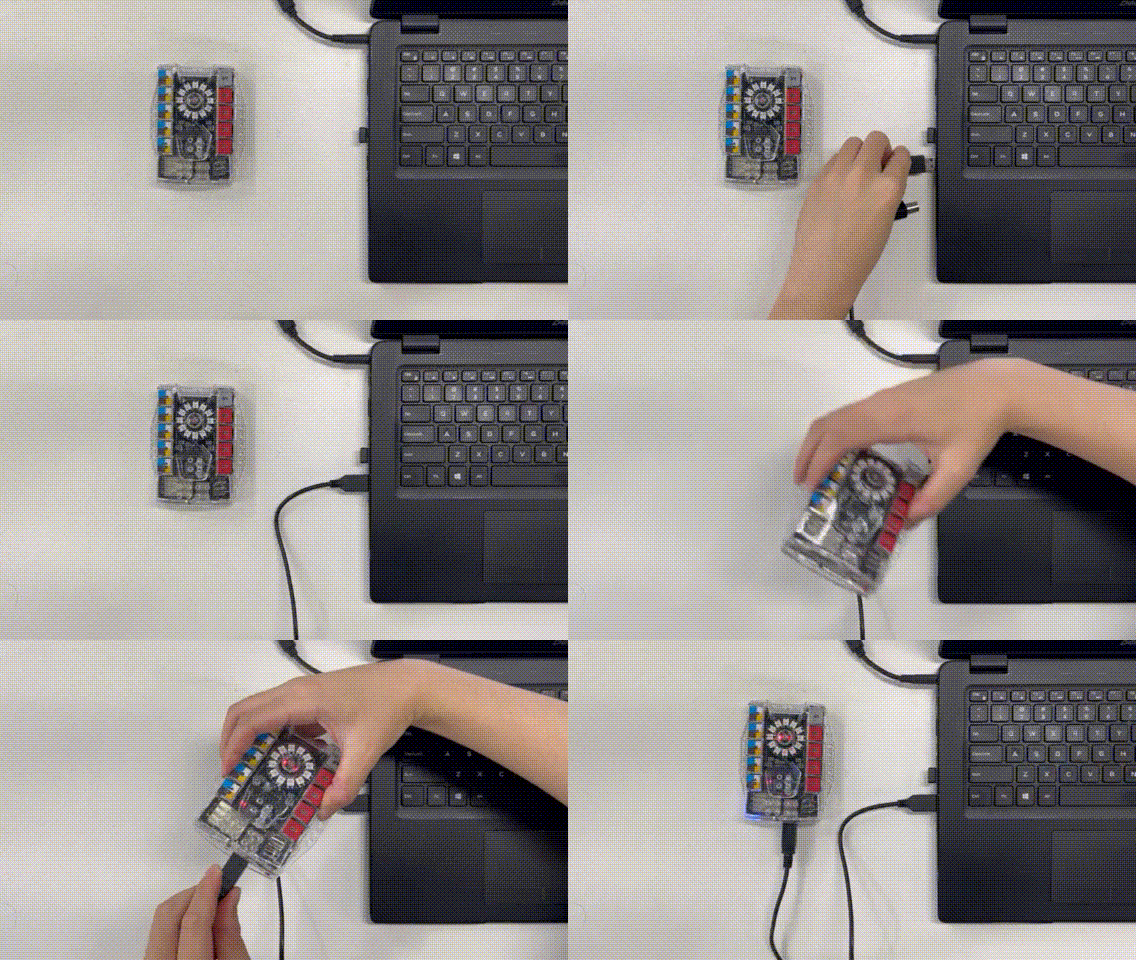
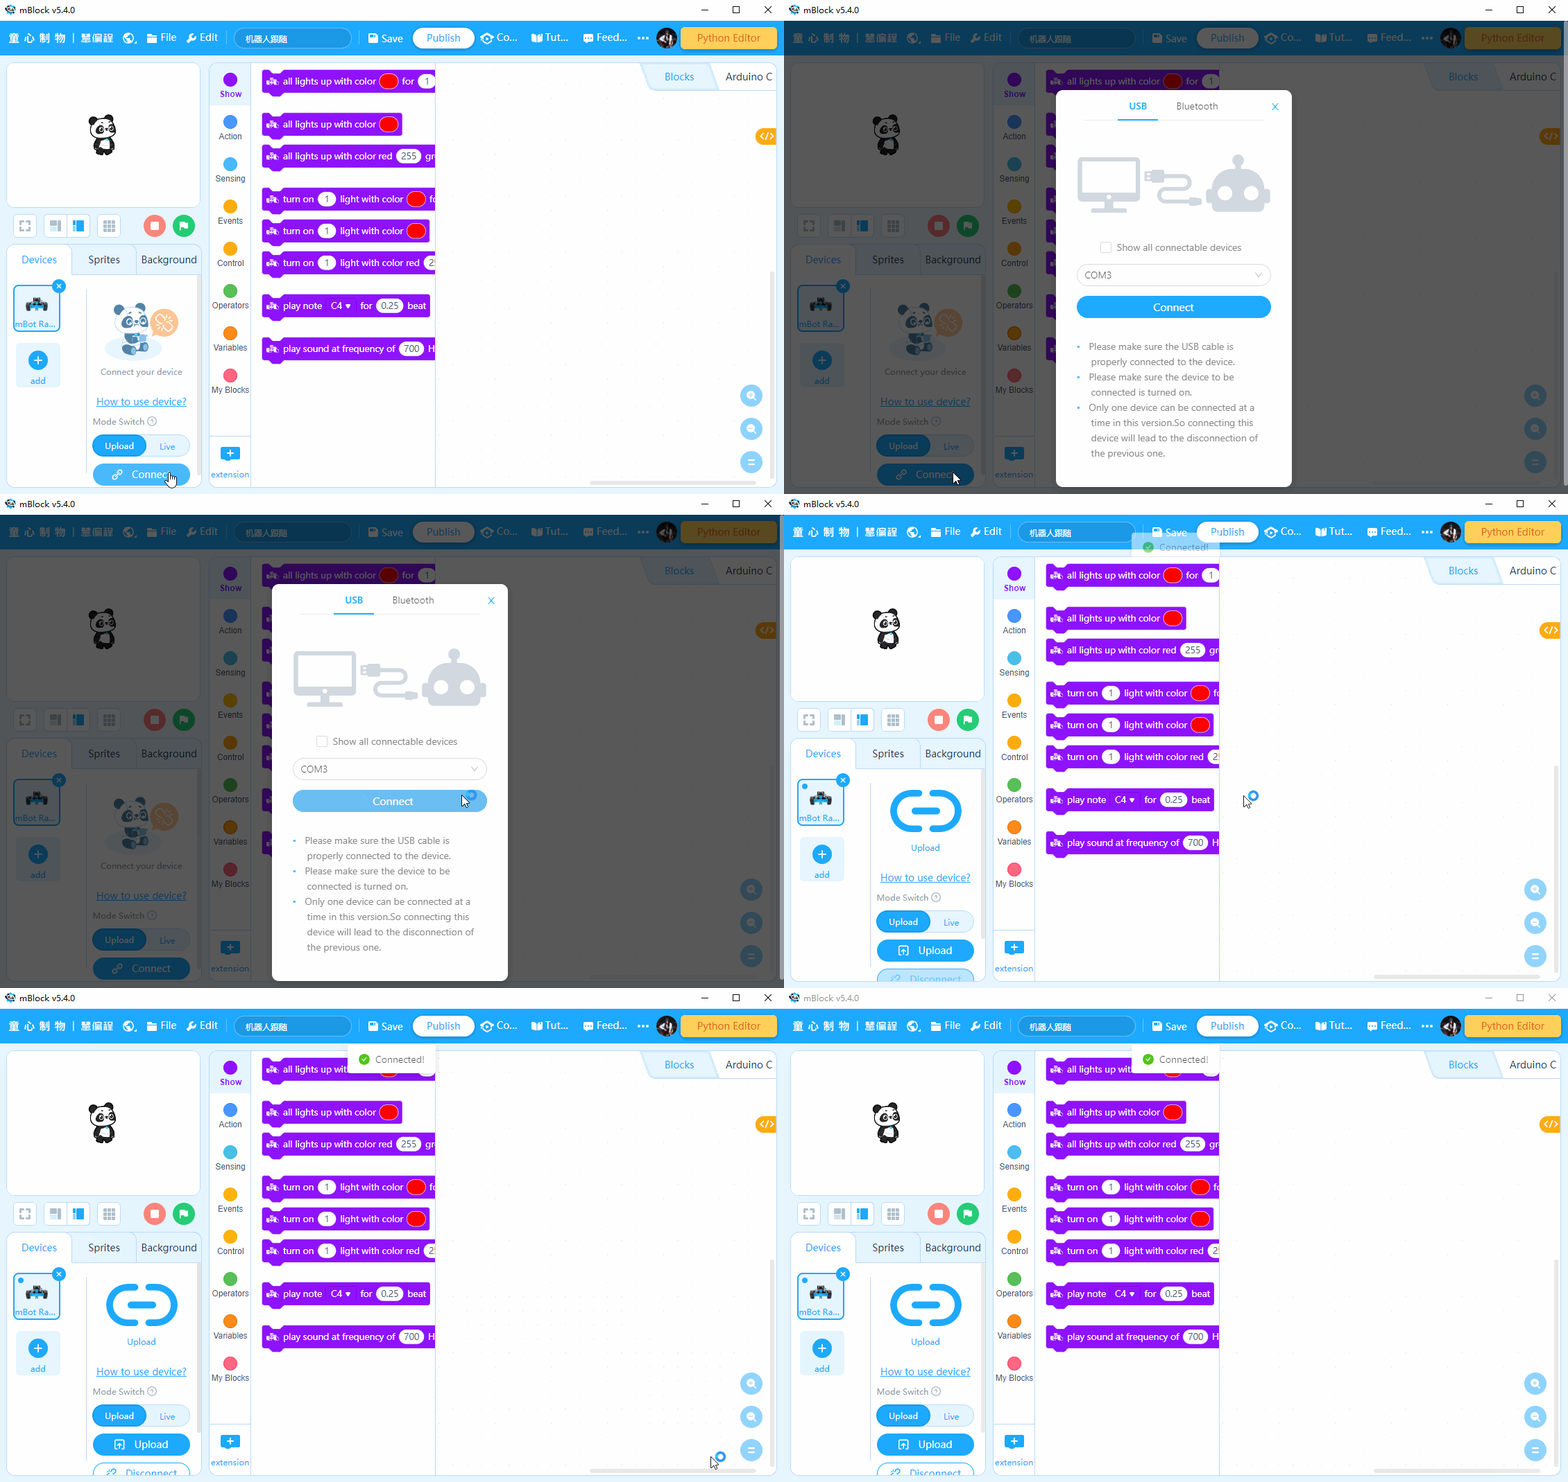
Connect Auriga to the computer by using the USB cable, open mBlock 5 (PC client or web version), connect CyberPi, and select the Upload mode.
Part 3 Programming
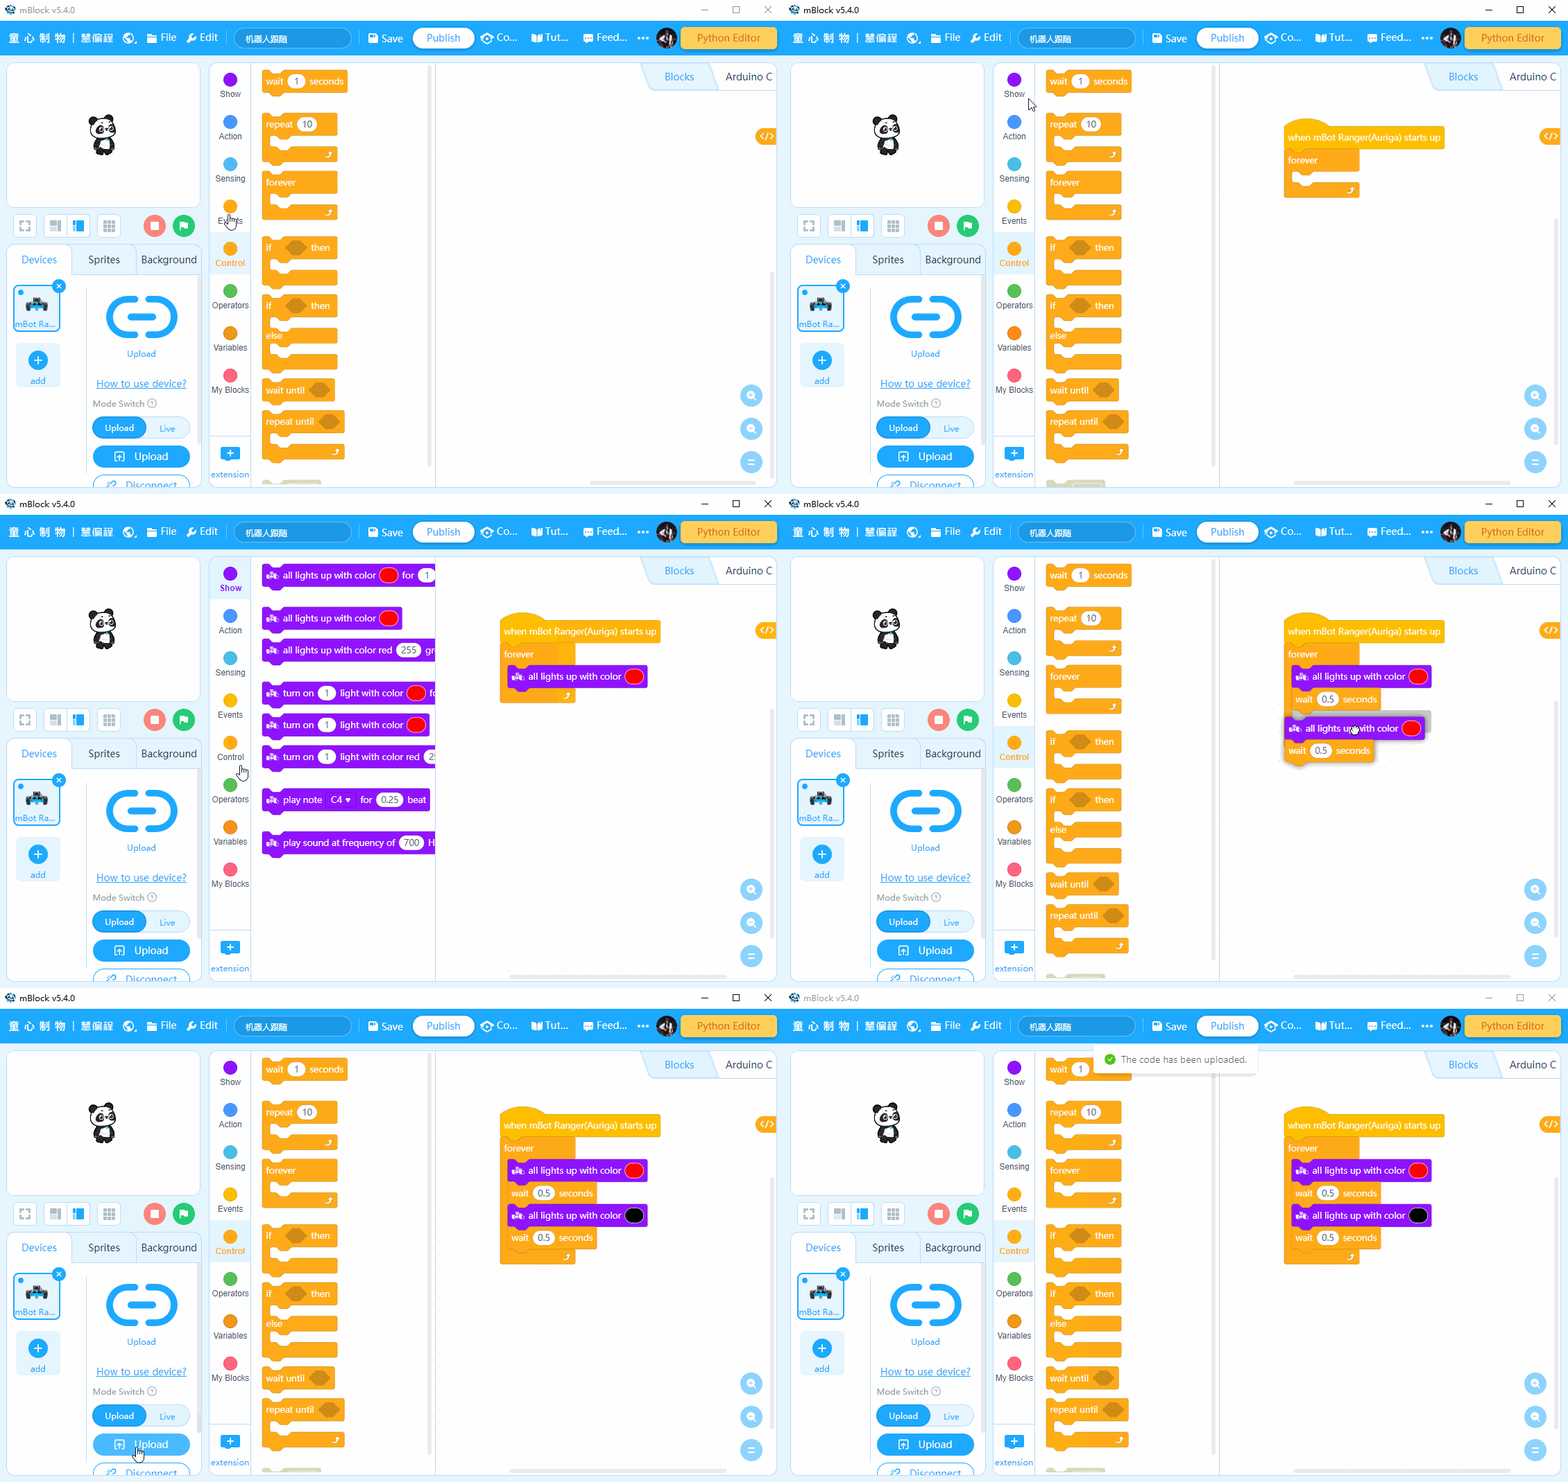
- RGB LEDs blink: when you turn on mBot Ranger, the LEDs are on and off alternately.
-
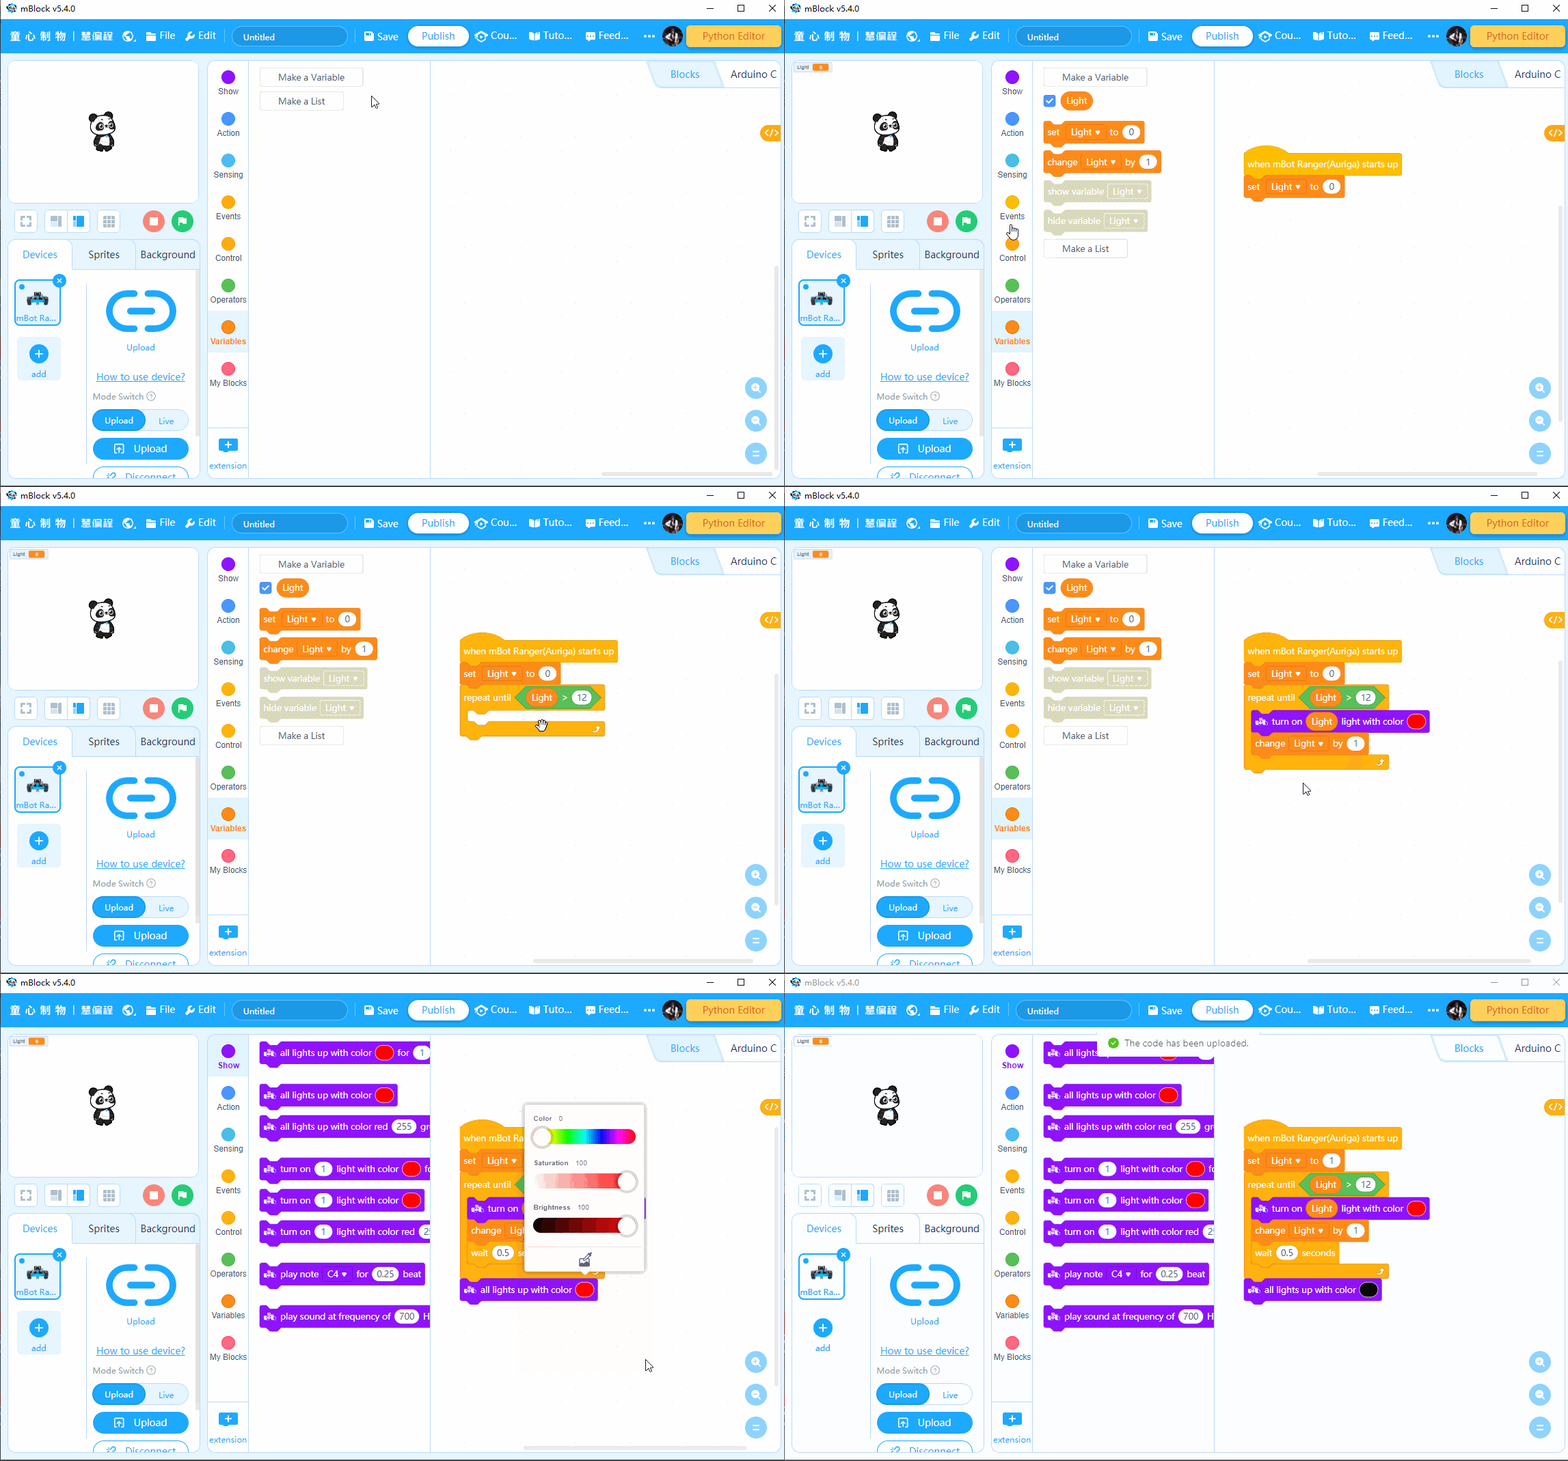
RGB LEDs light up one by one: when you turn on mBot Ranger, the RGB LEDs light up one by one. After all the LEDS are on, they go off.
-
Part 4 Practice
-
-
- Try to change the light color of the LEDs.
- Try to make the LEDs light up and then go off one by one.
-
Comments
How do you use the center button ?
Please sign in to leave a comment.